Getting the Woolpit tenor out
16 February to 7 April 2013
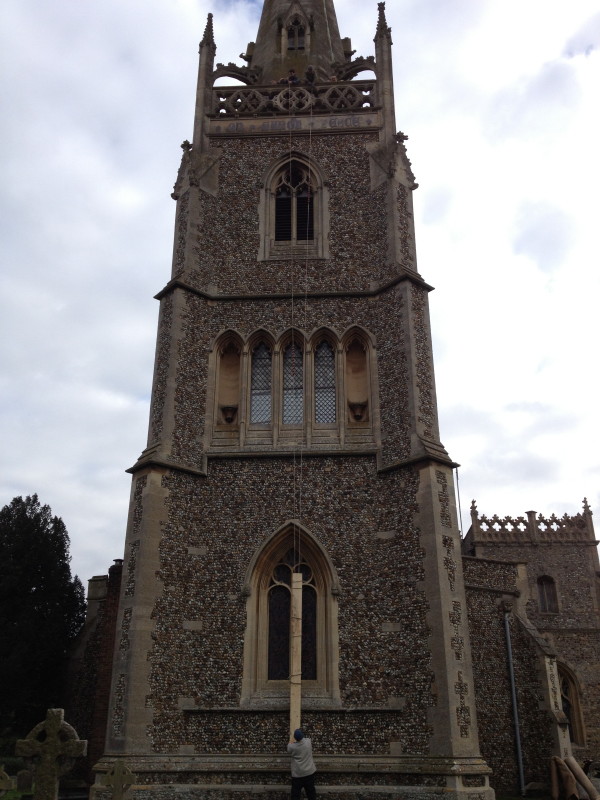
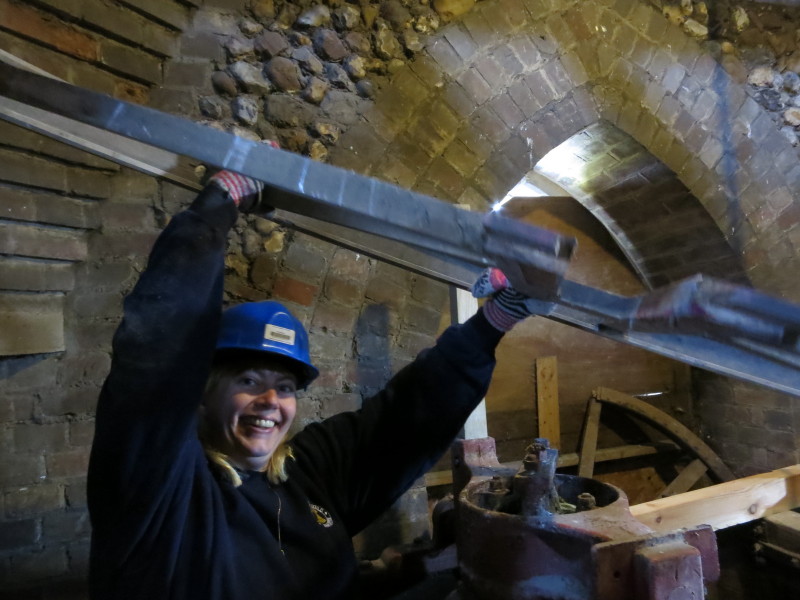
One of the beams the bells will be hung from is lifted up the outside of the
tower in February.
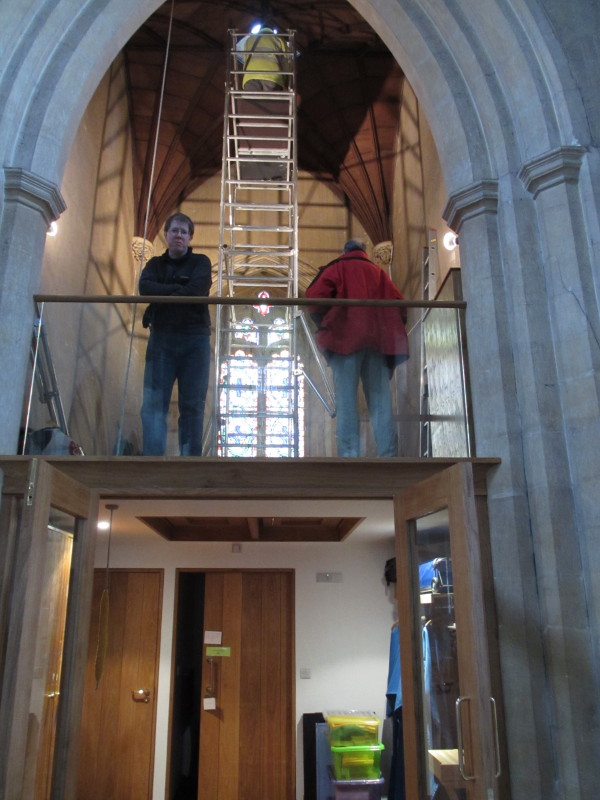
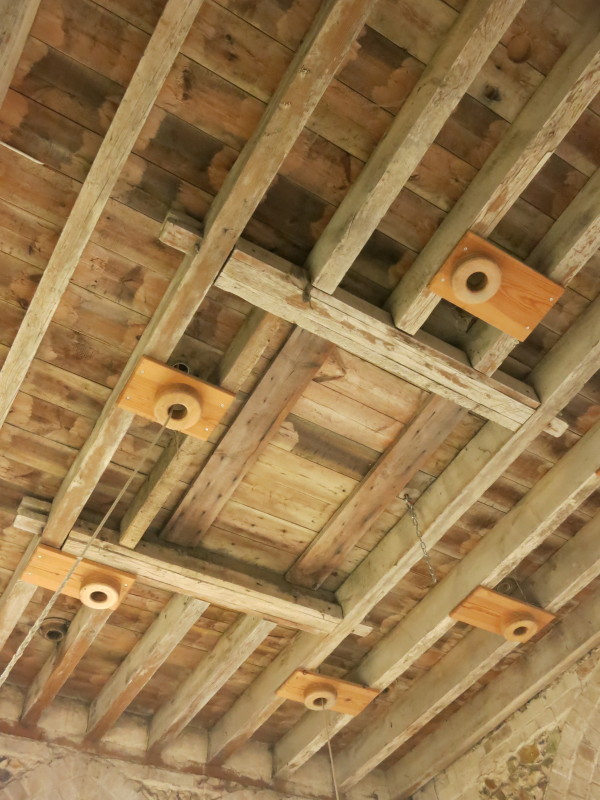
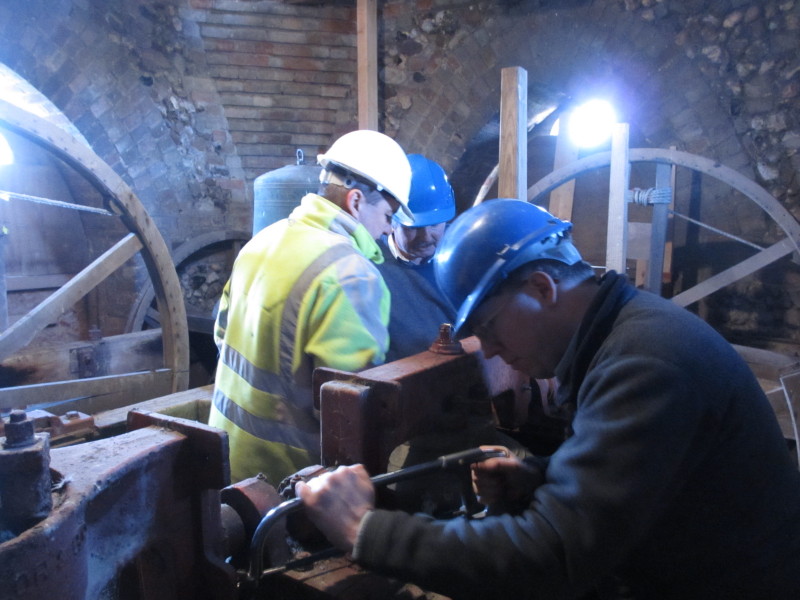
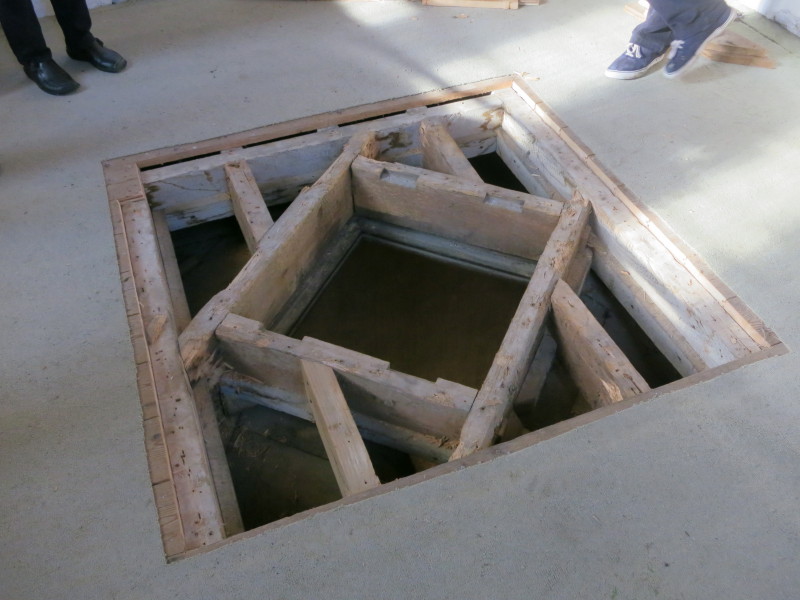
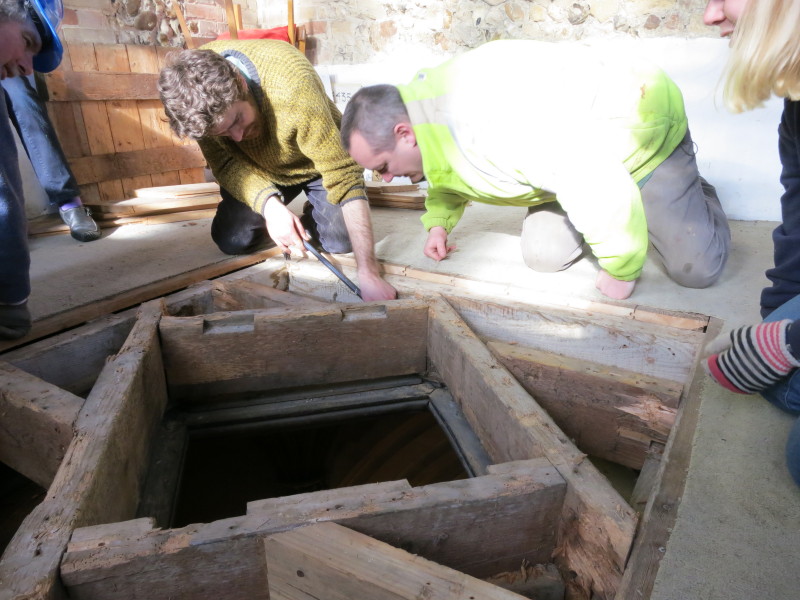
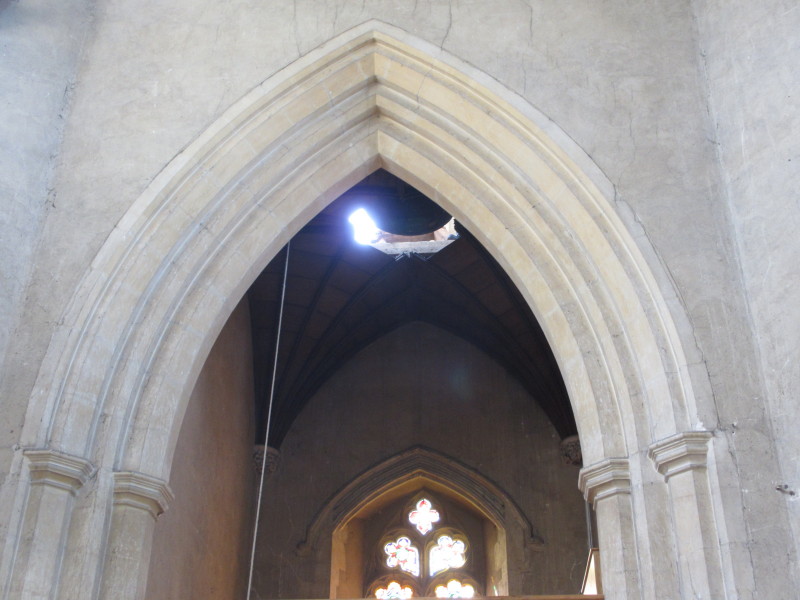
In March, Stephen, Alan and David are investigating how the vaulted ceiling is
put together. The small trap-door in the floor of the ringing chamber is not
large enough for the tenor, so part of the ceiling will be taken apart
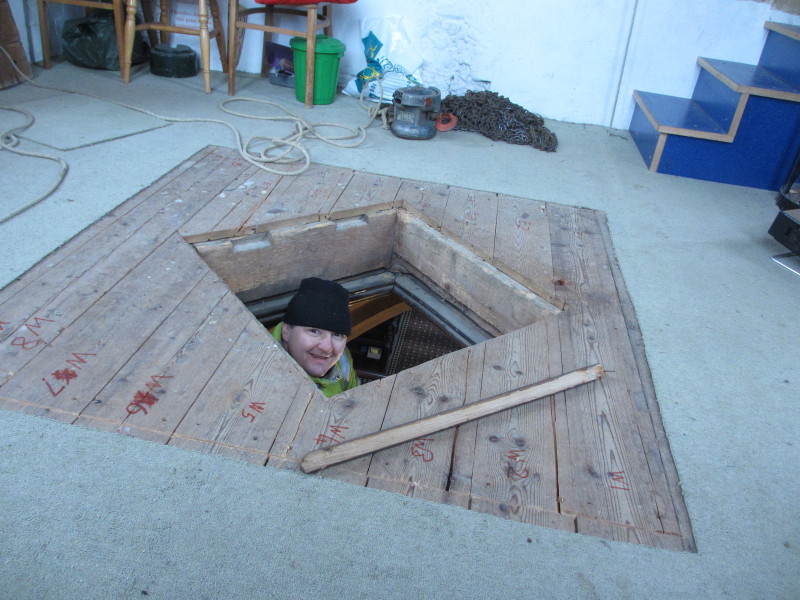
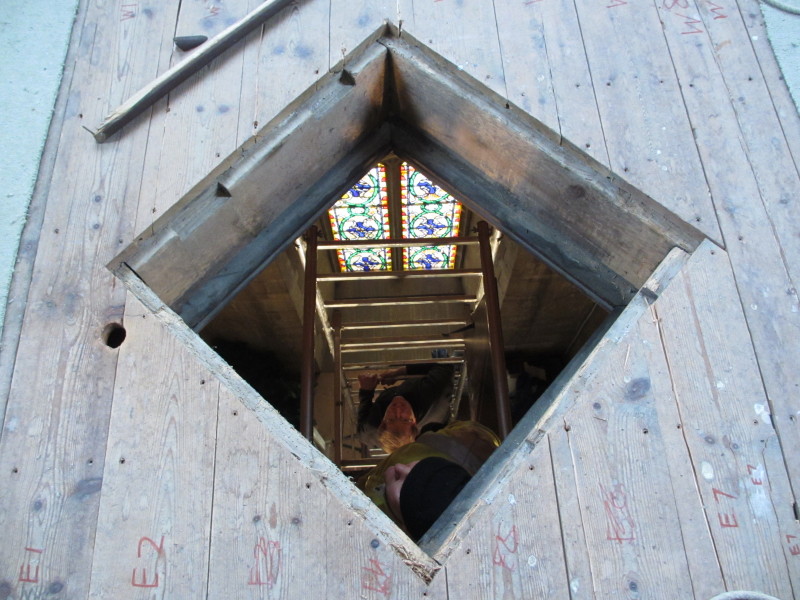
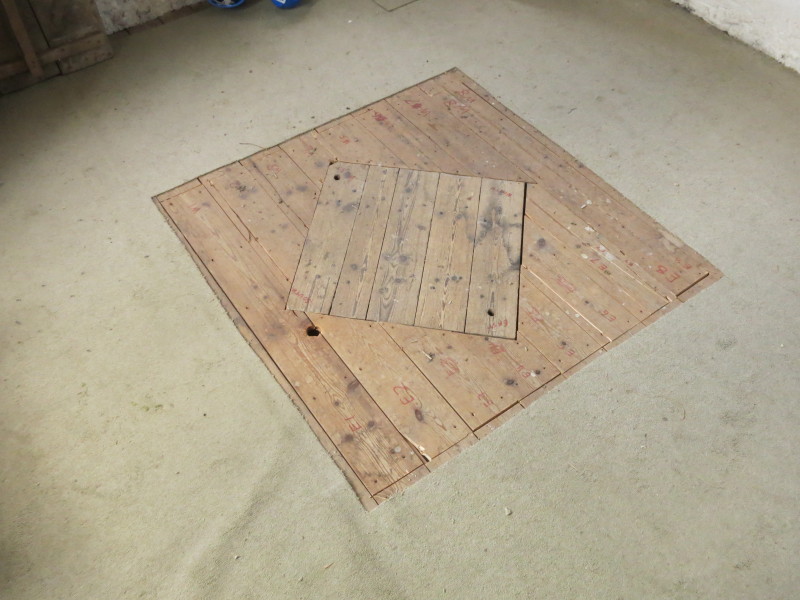
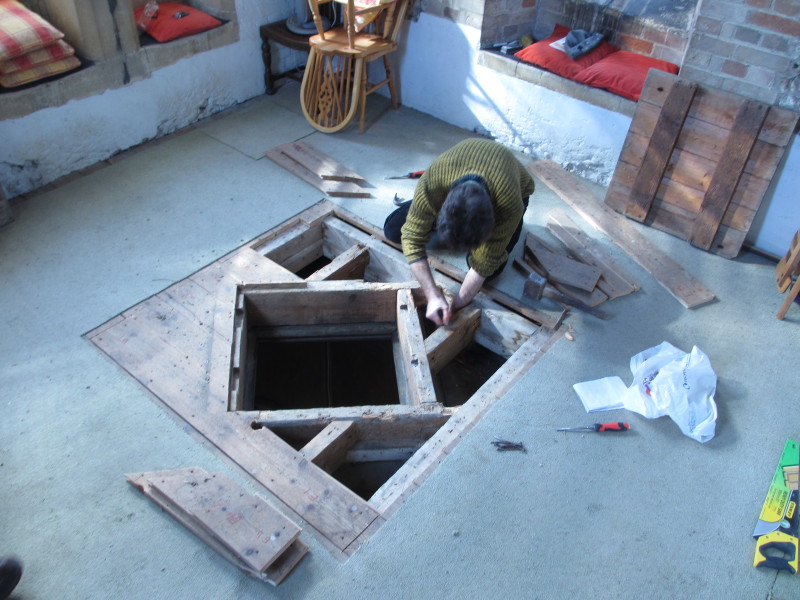
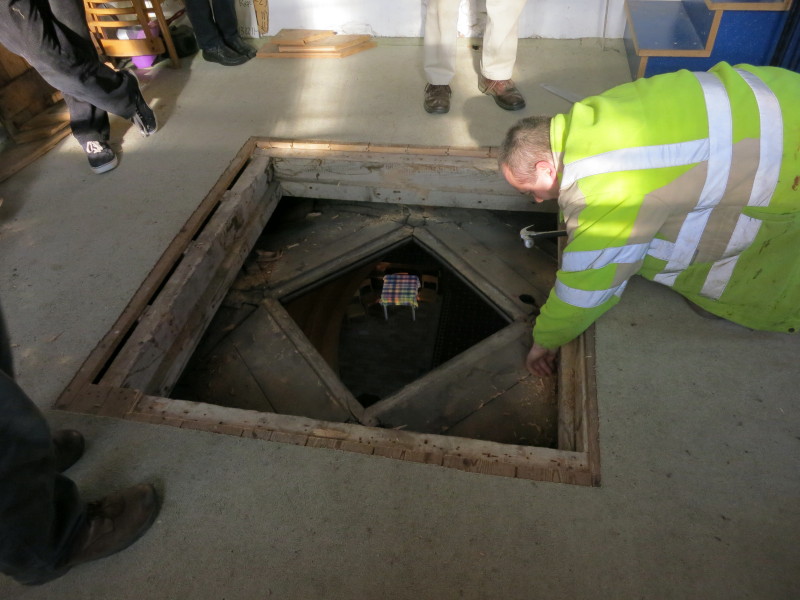
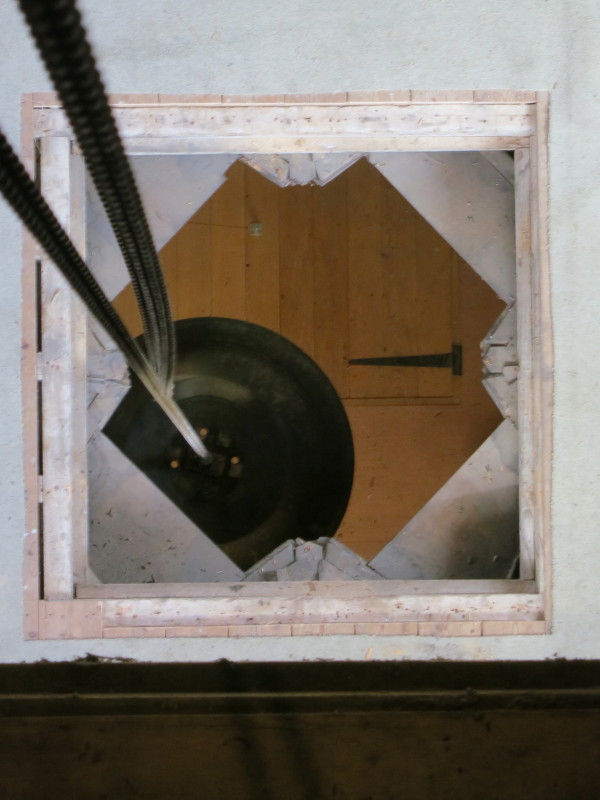
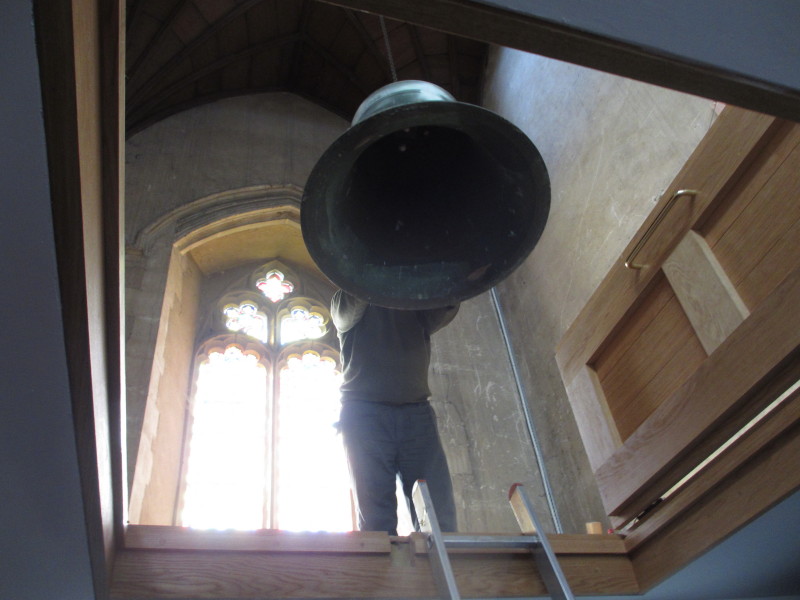
Alan through the hole in the ringing chamber floor. The area of floor cut out of
the carpet will eventually be removed to make a hole big enough for the tenor.
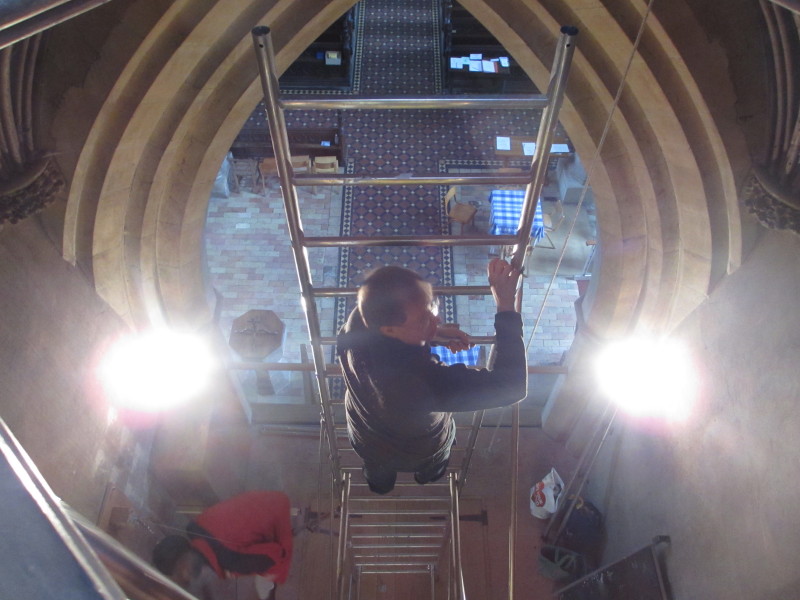
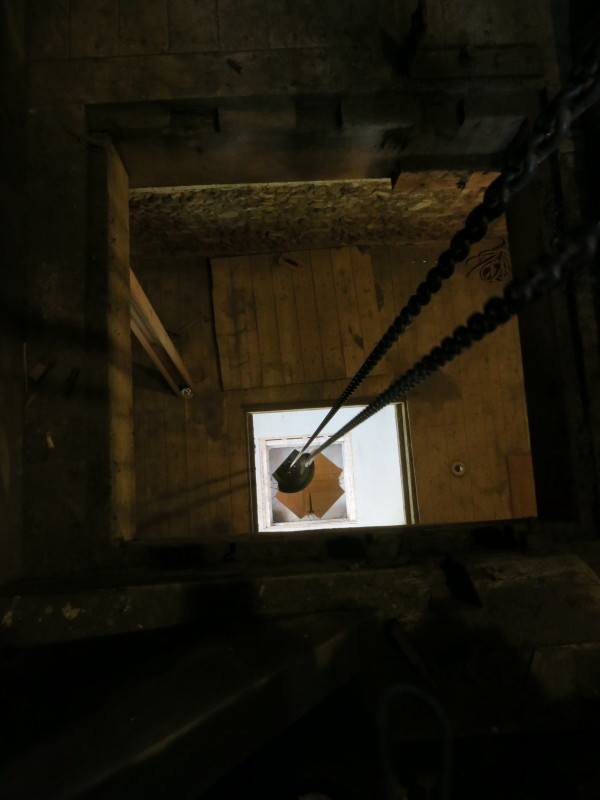
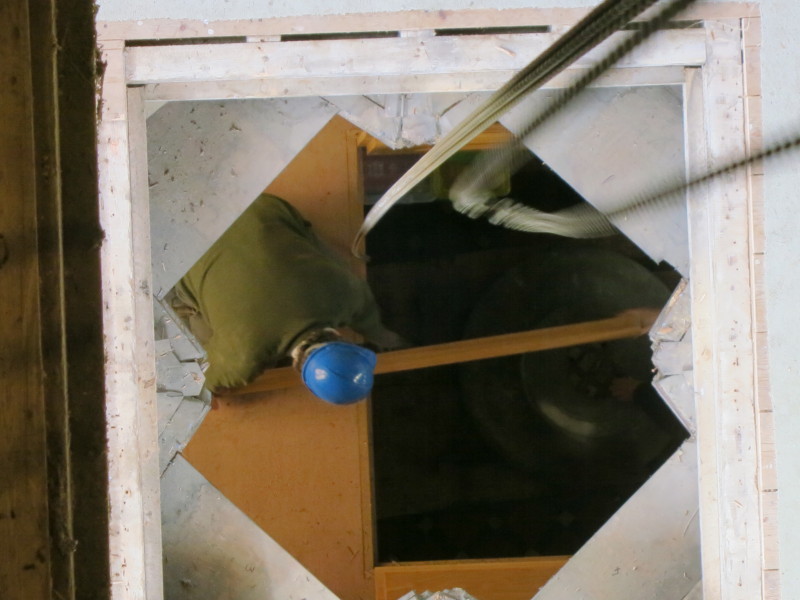
Stephen looks up from the scaffolding tower
Investigations complete, the scaffolding tower is taken apart
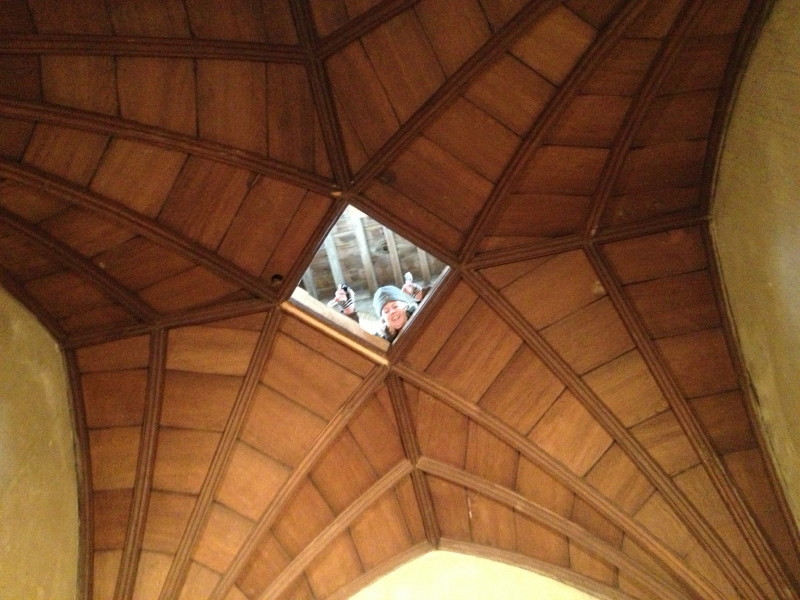
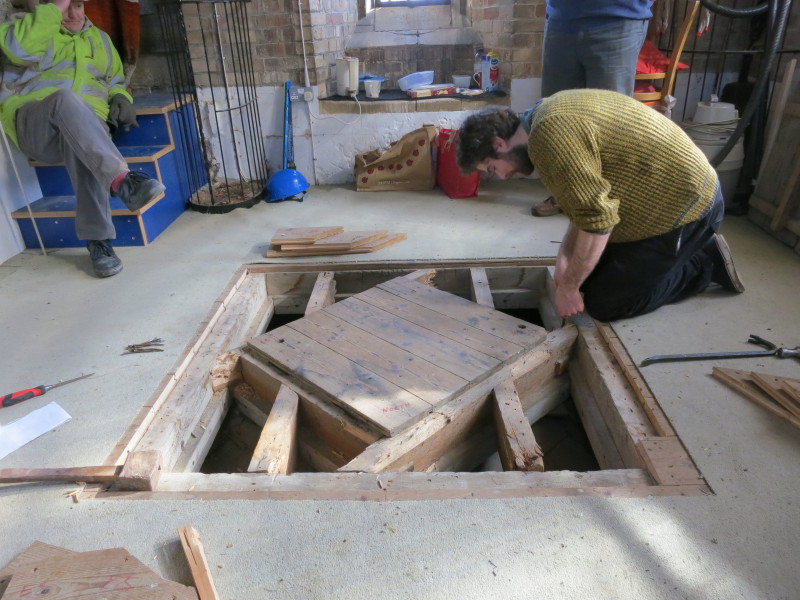
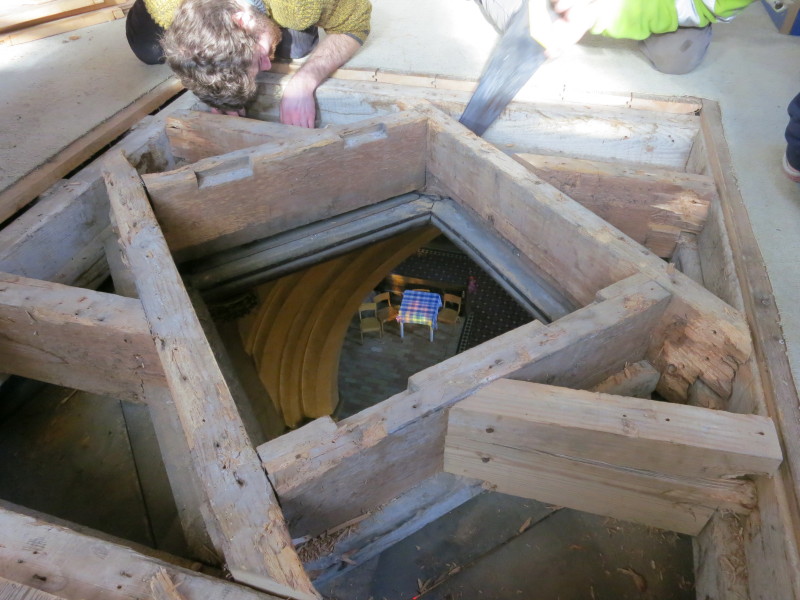
Lucy watches the workers from above.
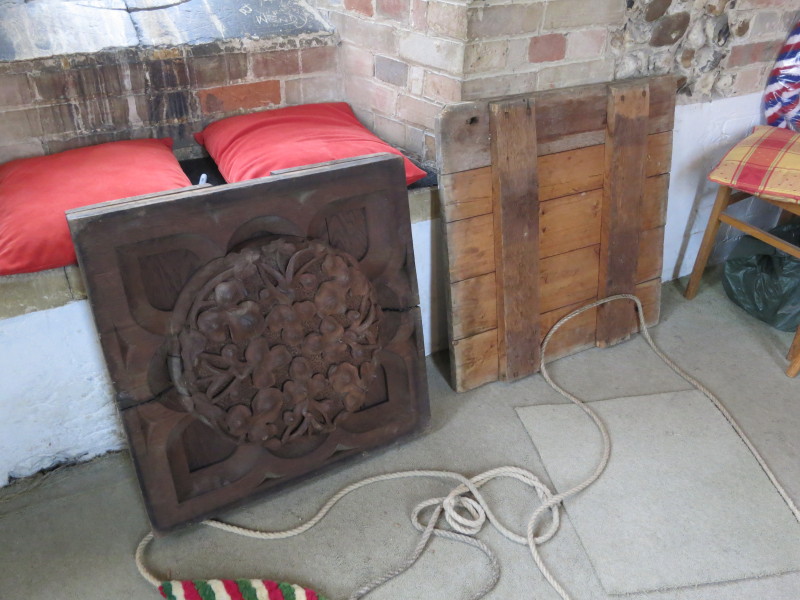
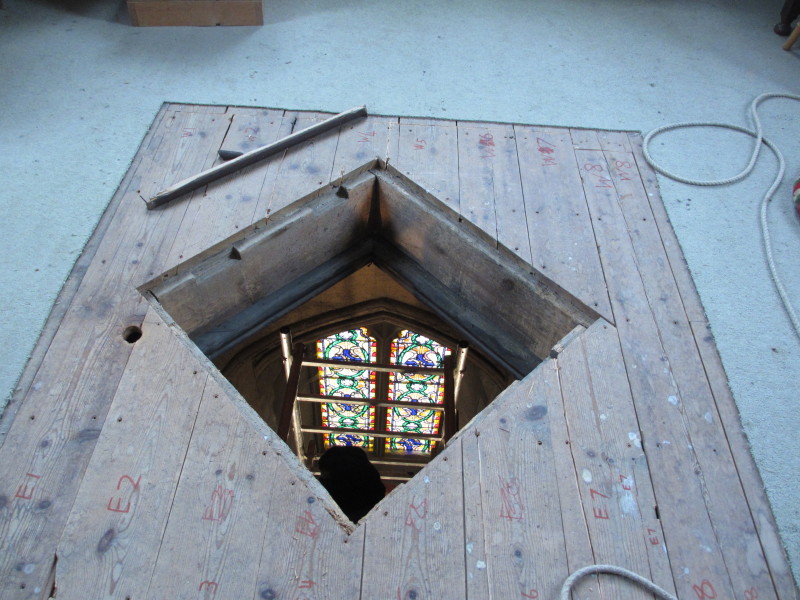
The roof boss normally fills the hole from below, and the boards on the right
normally are the floor of the ringing chamber.
6 April 2013
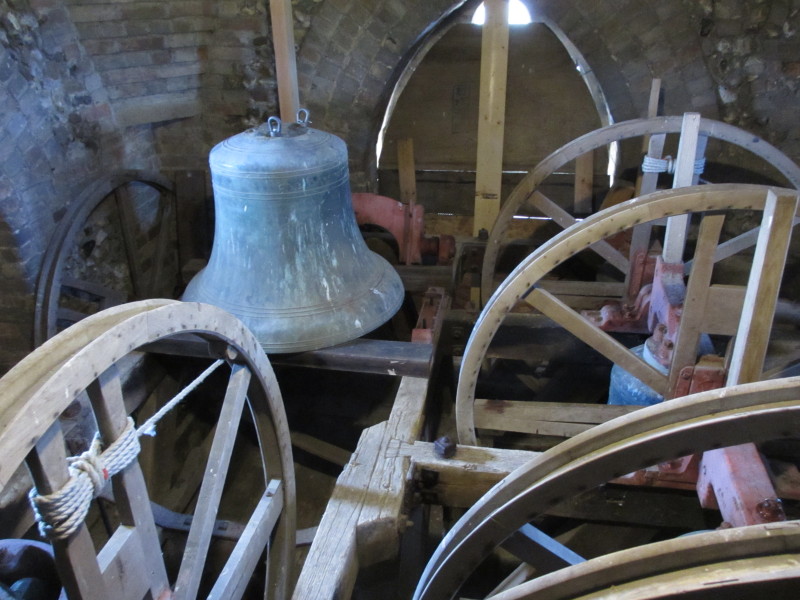
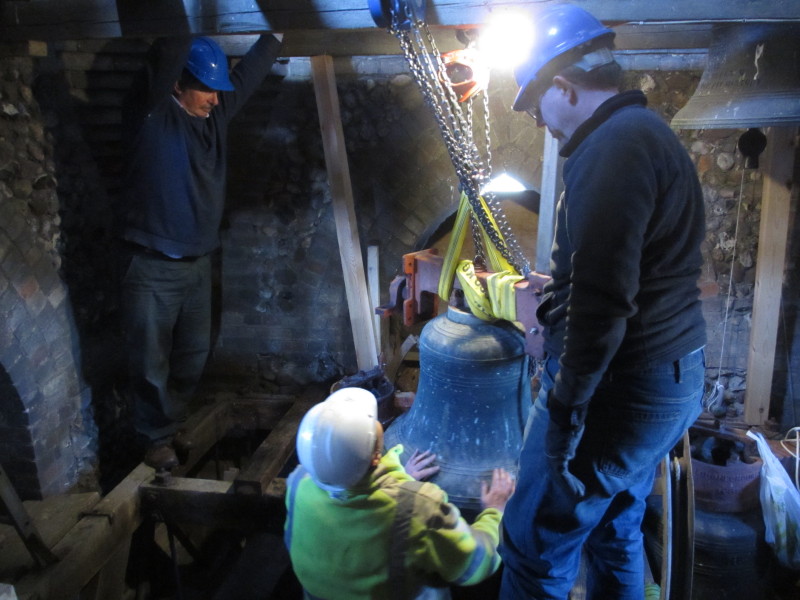
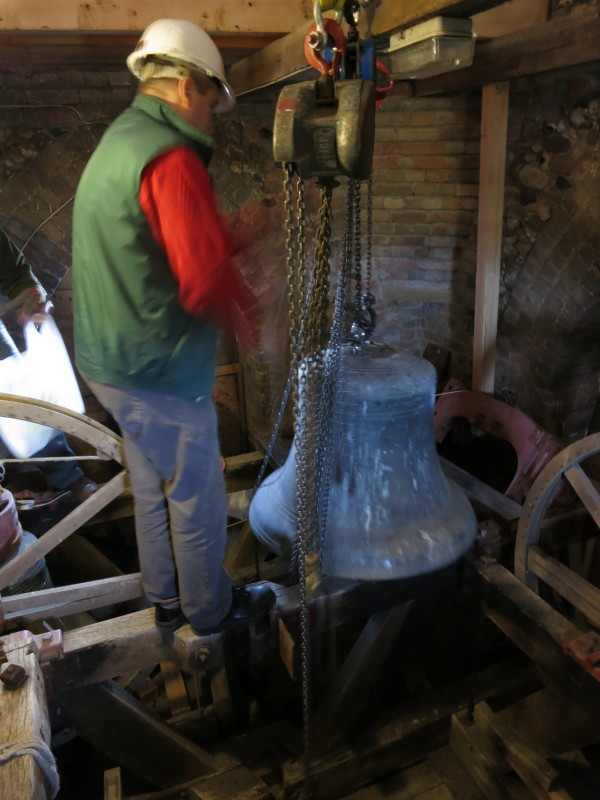
Earlier work has seen the fittings removed from the tenor and it lifted onto the
frame ready to be moved. But first we have to create an exit route...
The easiest part - the ceiling of the ringing chamber and floor of the clock
chamber just lifts out.
The floor of the ringing chamber is more complicated

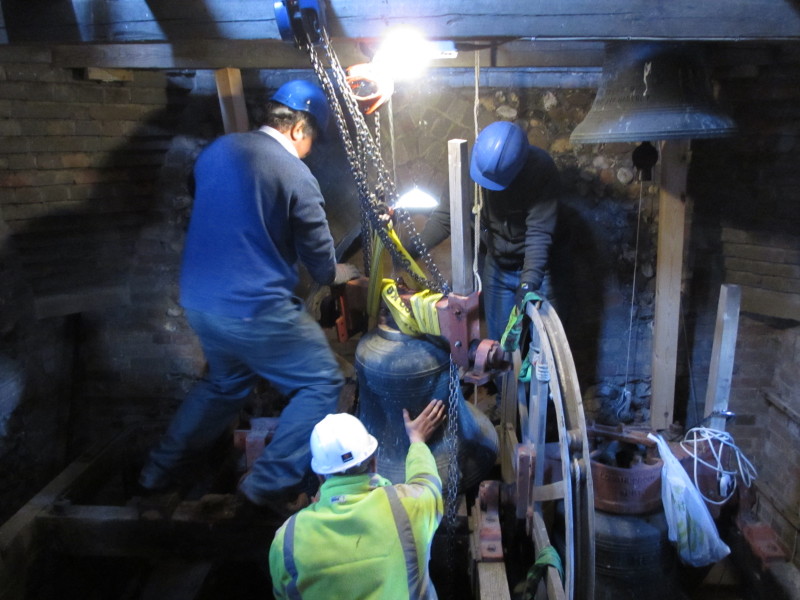
In the bell chamber, we must move two bells out of the way and remove part of
the frame before we can lift the trap door.
Lucy is at work removing the wheel from a bell
The top half of a wheel
The one on the right came off; the one on the left
needed the hack-saw
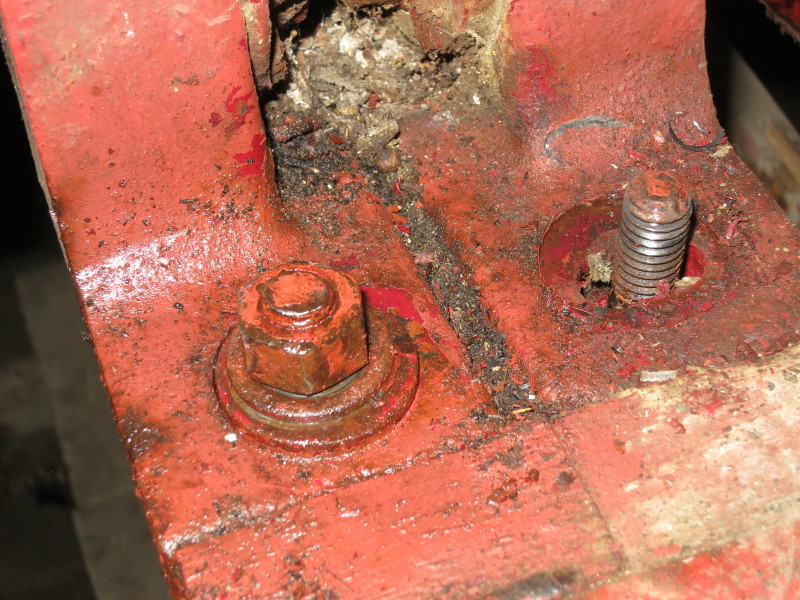
Hack-sawing a nut off a bolt to which it had rusted solid since 1968
Ben removing the planking around the inner trapdoor
Trying to remove the ridiculous number of nails that had been put in when the
trap was last used in 1968 - ridiculous because the frame couldn't move even if
there were no nails at all.
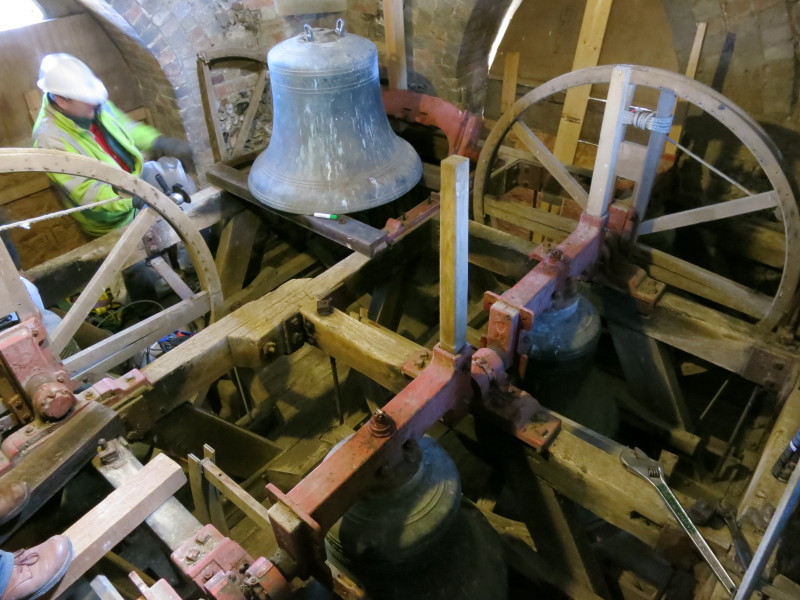
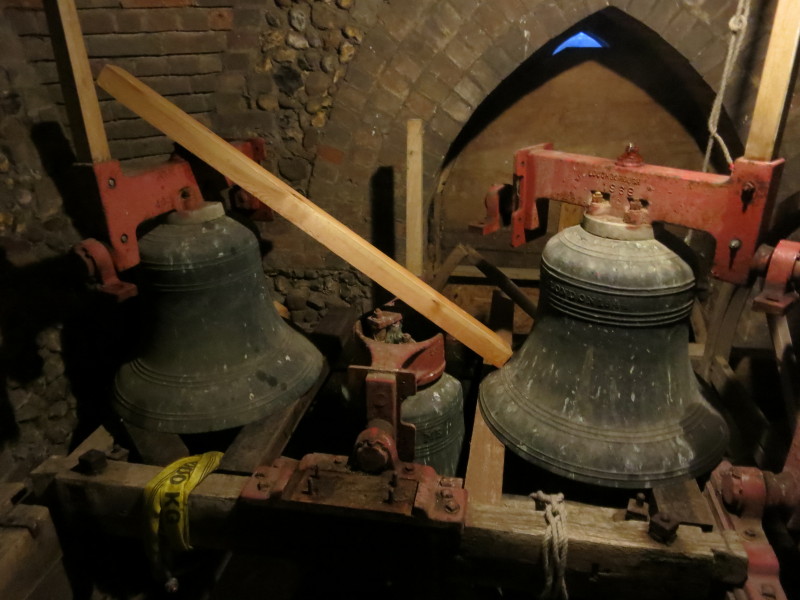
The wheels have now been removed from the 2nd, 3rd and 4th. We just need to lift
the 2nd and 3rd and move them out of the way, then remove part of the frame in
order to access the top trapdoor below the bells.
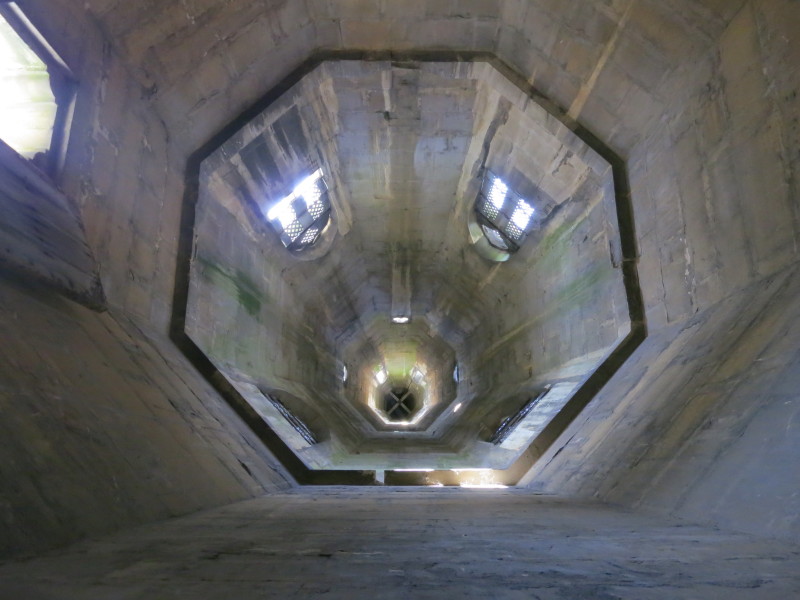
Looking up the spire
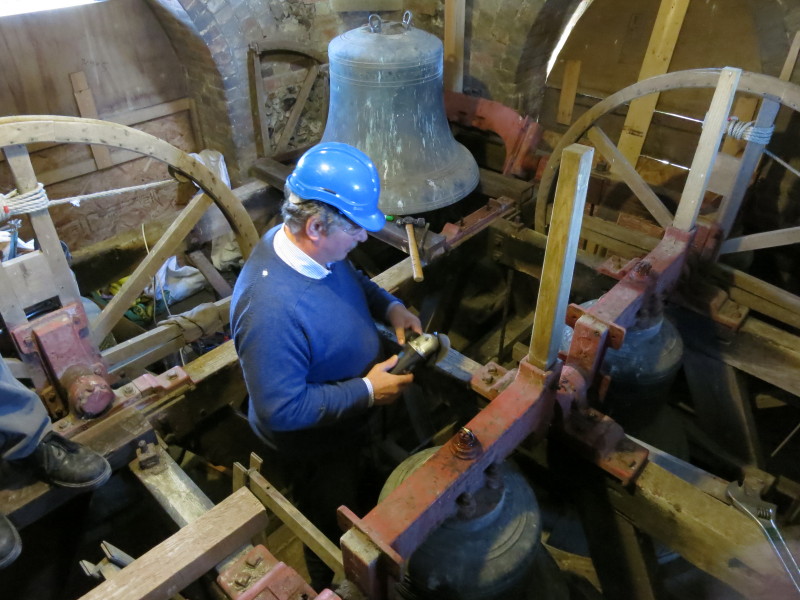
For stubborn nuts we used a hack-saw and chisel on the first two, but the
angle-grinder came out for the rest
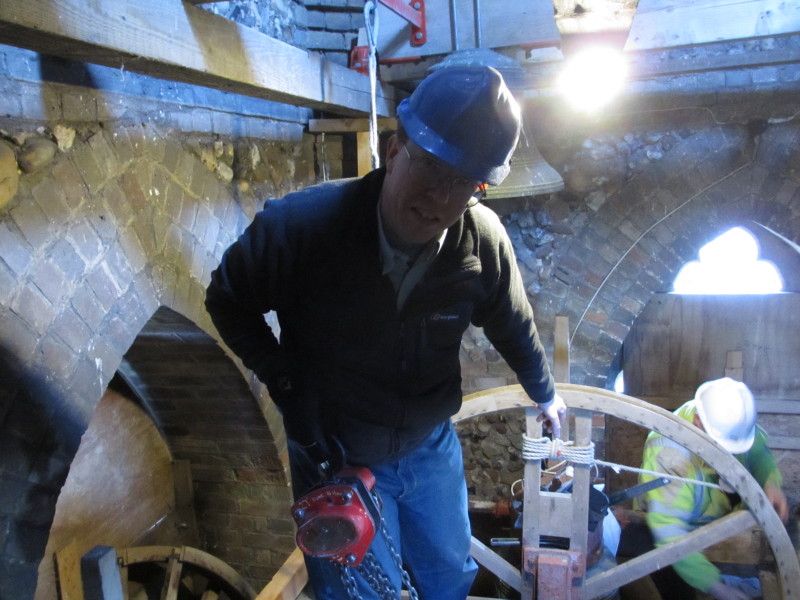
Moving one of the blocks used to lift the bells
The trap in the ringing chamber is finally ready to lift out
Except that there is one more nail...
A view down into the church
Finally the frame is removed, revealing the vaulted ceiling which needs to be
removed for the bell to fit through.
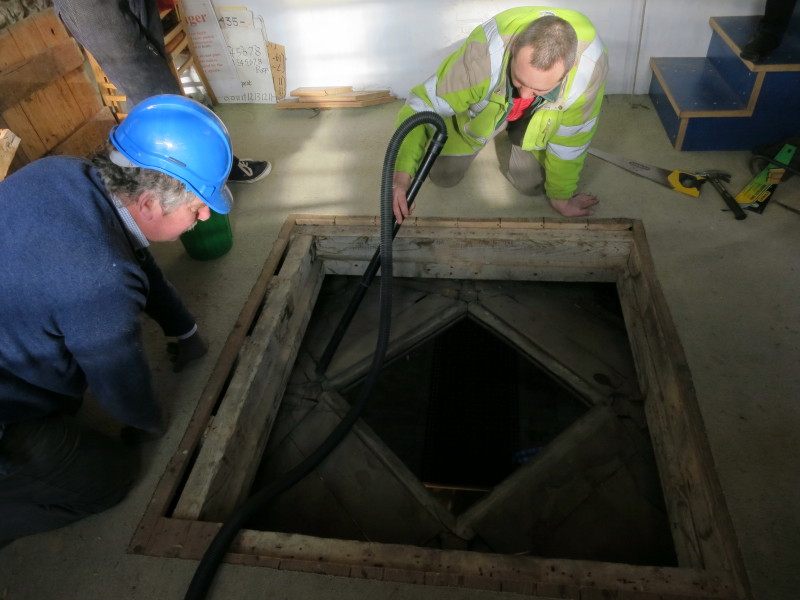
First a bit of vacuuming to remove the dust of several decades plus the detritus
from removing all those nails
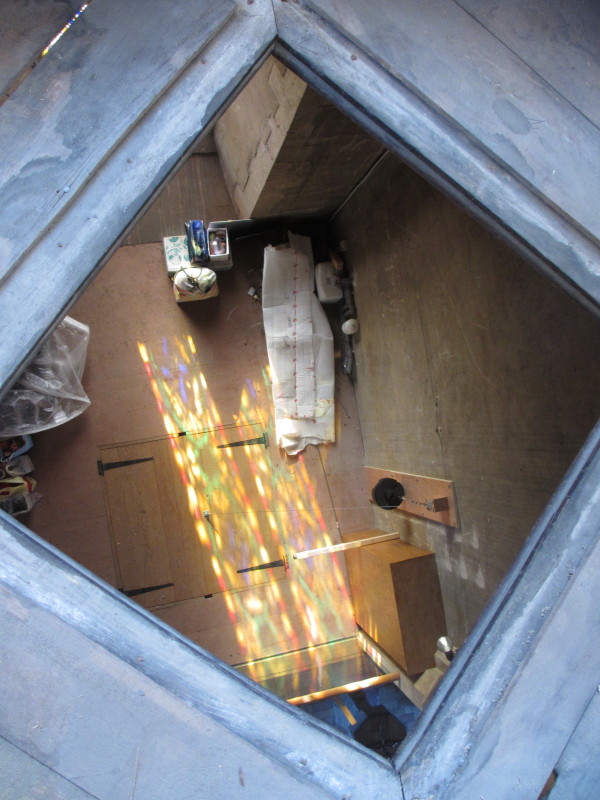
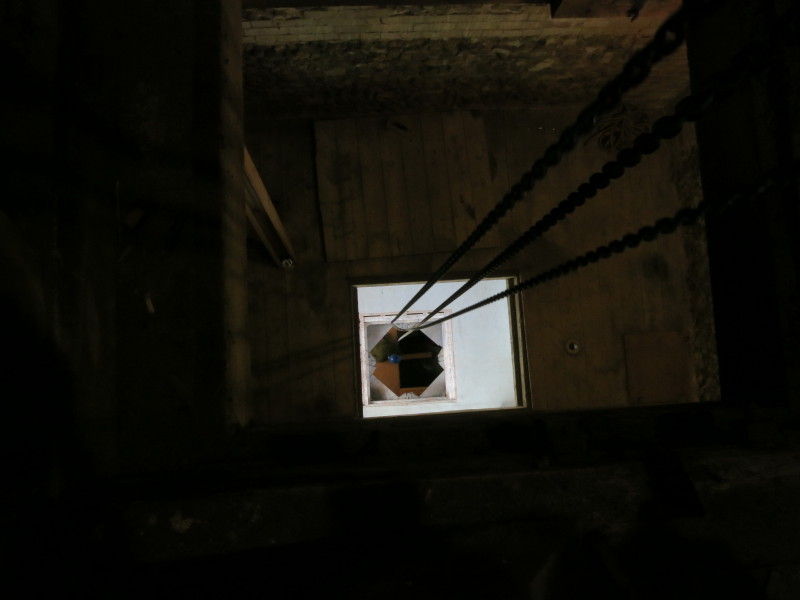
Looking down to the lowest trap-door with the afternoon sunlight coming through
the stained glass window
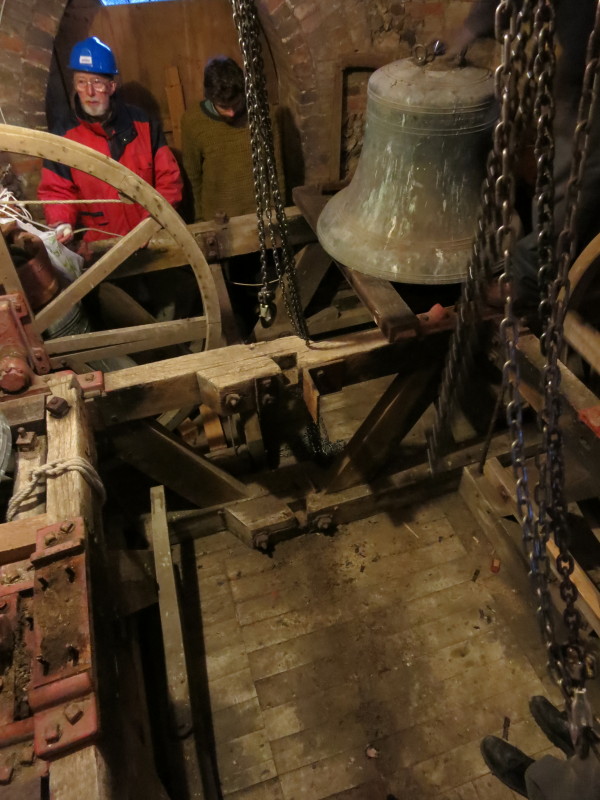
Moving one of the bells onto the frame out of the way
Almost there
The two bells out of the way, with another in the frame between them.
The bells have gone and we've lifted the frame out too.
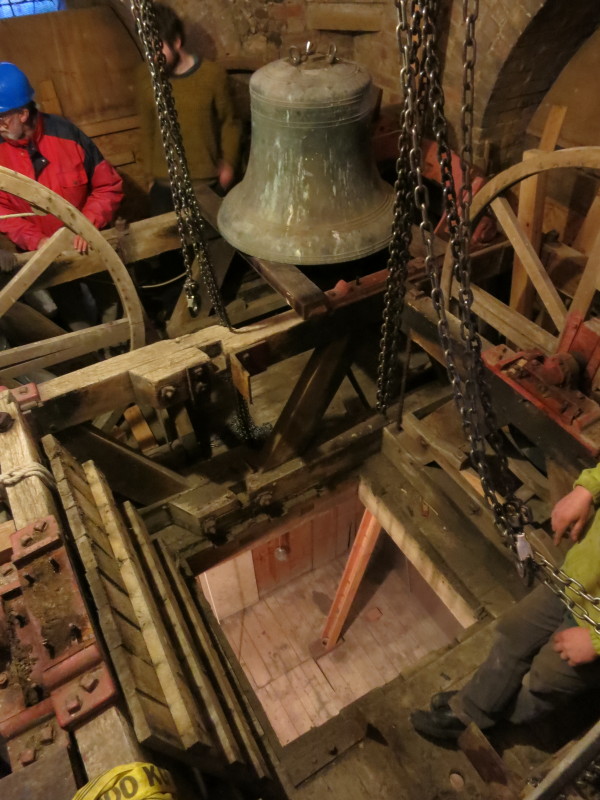
The frame has been lifted out and can be seen on the left, and the top-most trap
door lifted, with a view down into the clock chamber. The tenor is ready for its
journey down tomorrow.
7 April 2013
Next afternoon, the tenor is moved across above the hole in the floor
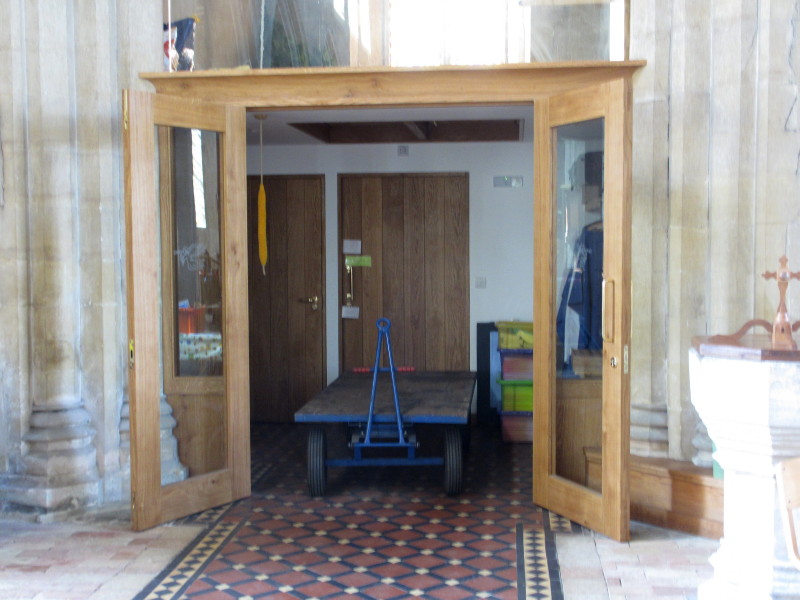
Meanwhile the trolley is in place at the bottom
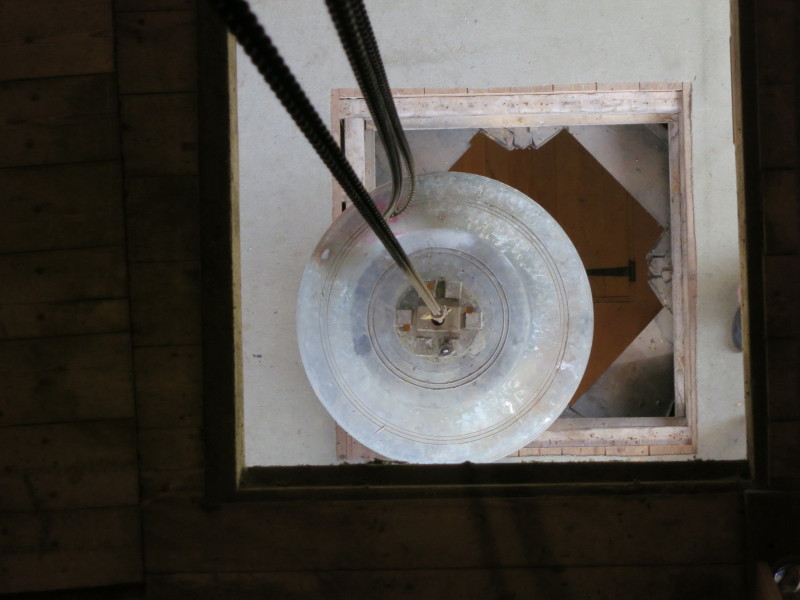
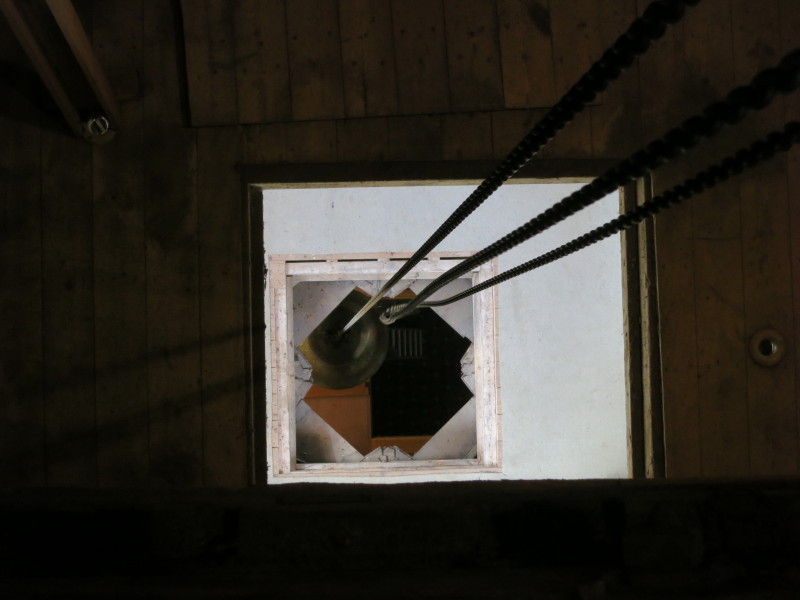
The tenor has left the bell chamber and is passing down through the clock
chamber, with its trap-door still closed
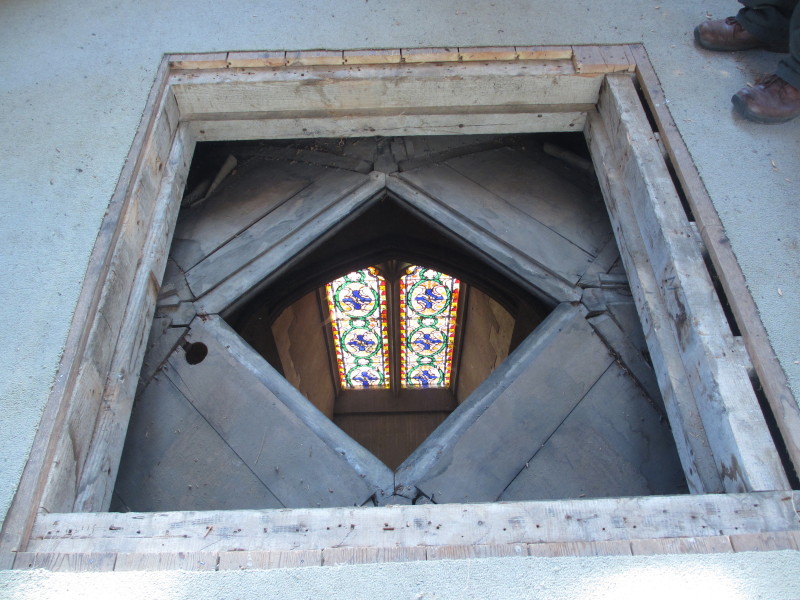
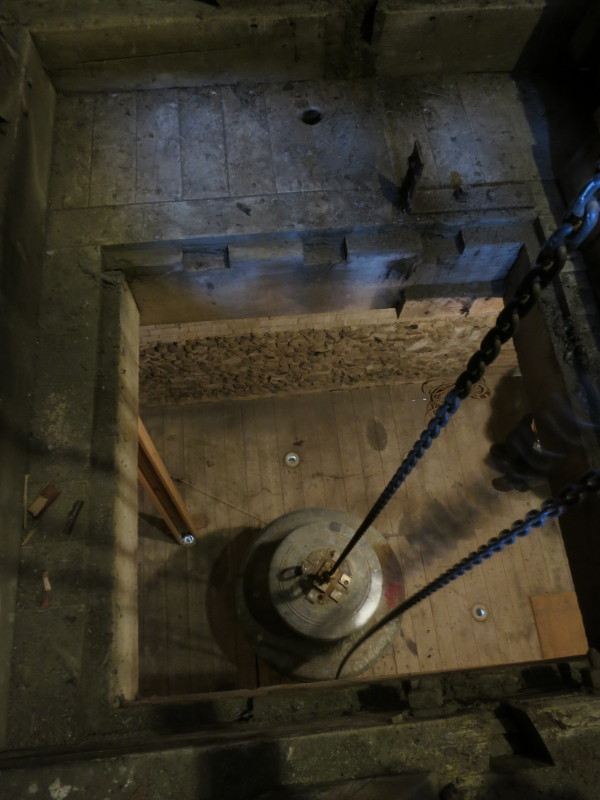
Through the clock chamber's trap door, the view is down to the ringing chamber,
where the hole has been opened up again - you can just see part of a hinge on
the bottom trap-door. There is a total of just under half an inch clearance
(less than a quarter of an inch each side)
The bell appears through the vaulted ceiling
and continues its descent

The view from the bell chamber. The four trap-doors are not aligned, so the bell
had to be gently pushed to one side or another to fit through
You can see how far the final trap-door is off-line
Nearly down

The bottom trap is now open
Pushing the bell through the bottom trap
The view from the top as the bell comes to rest at the bottom
The bell in place at the bottom
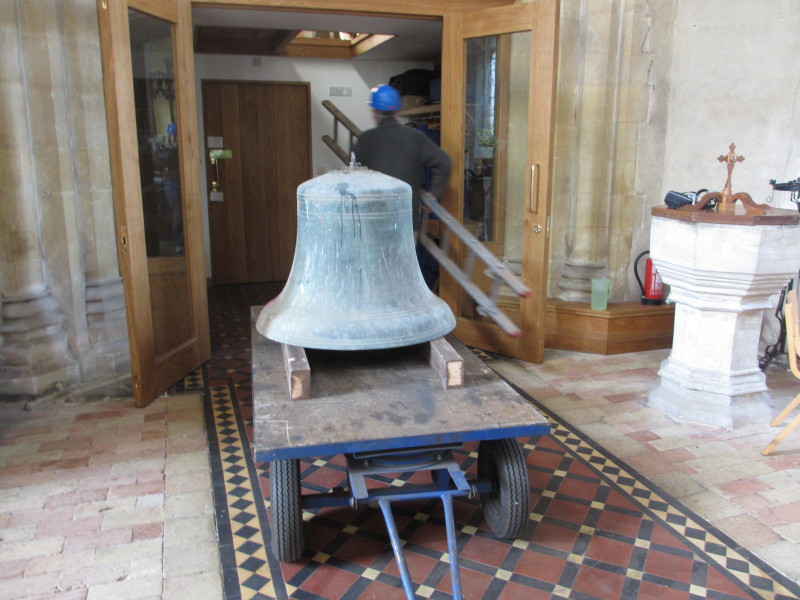
Safely down
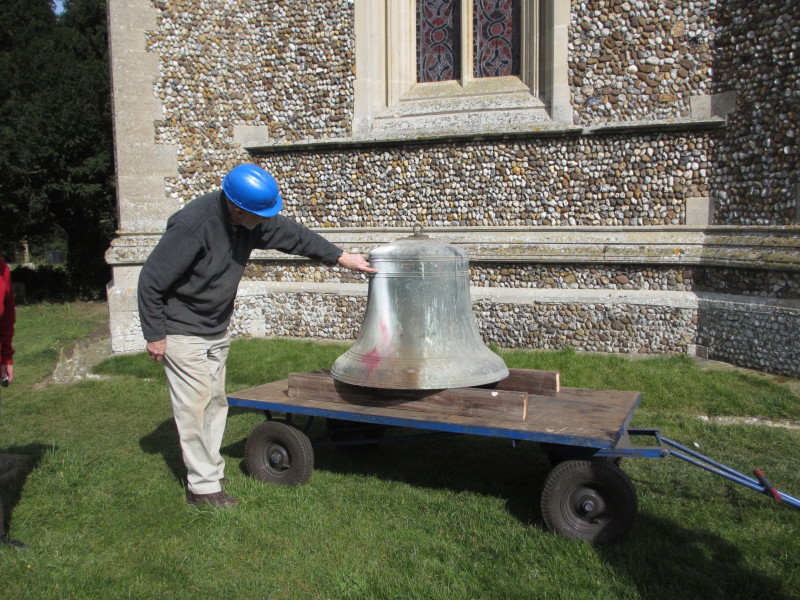
David points out the crack
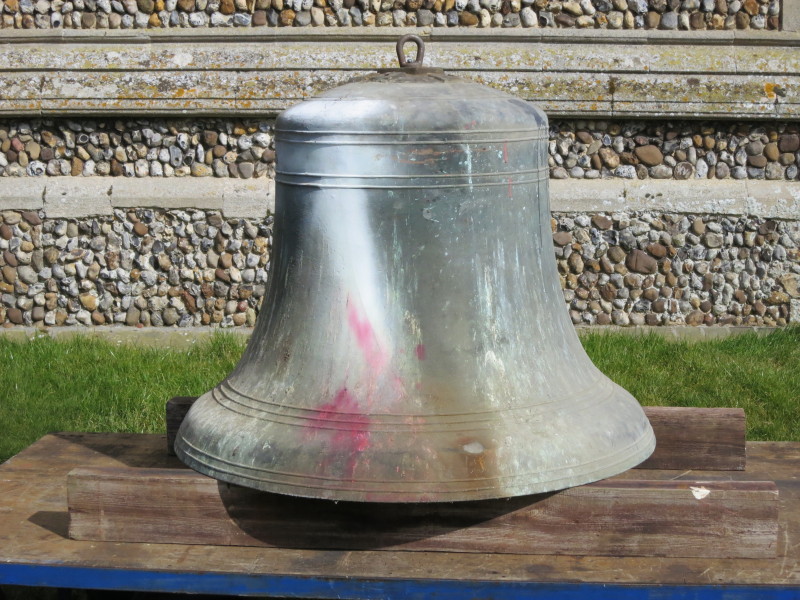
The crack is highlighted by the dye
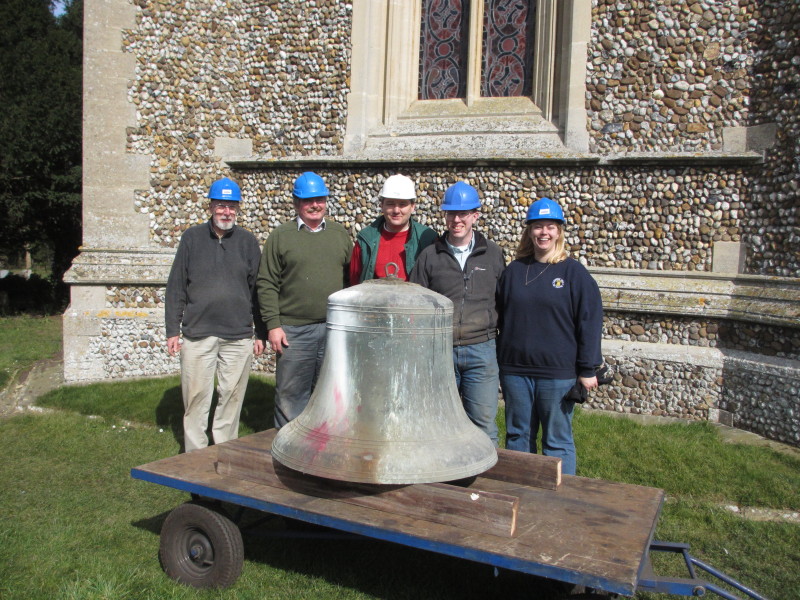
The team
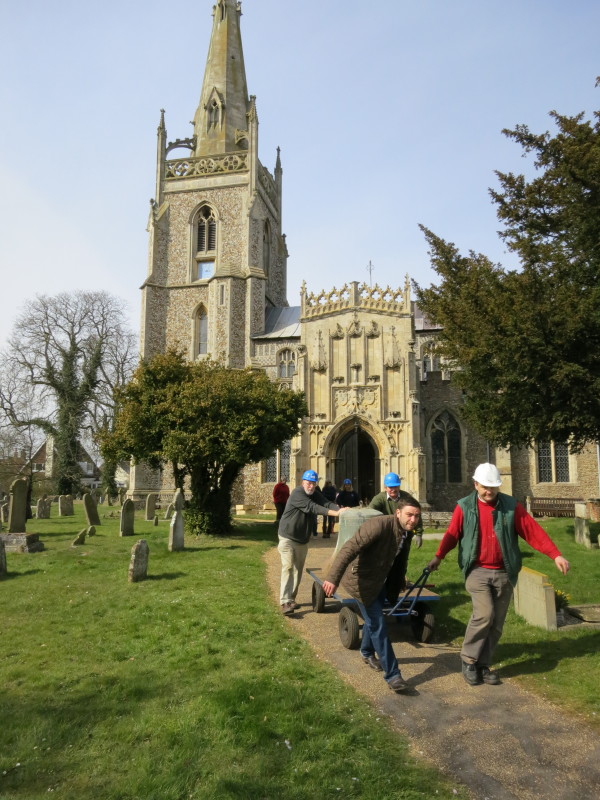
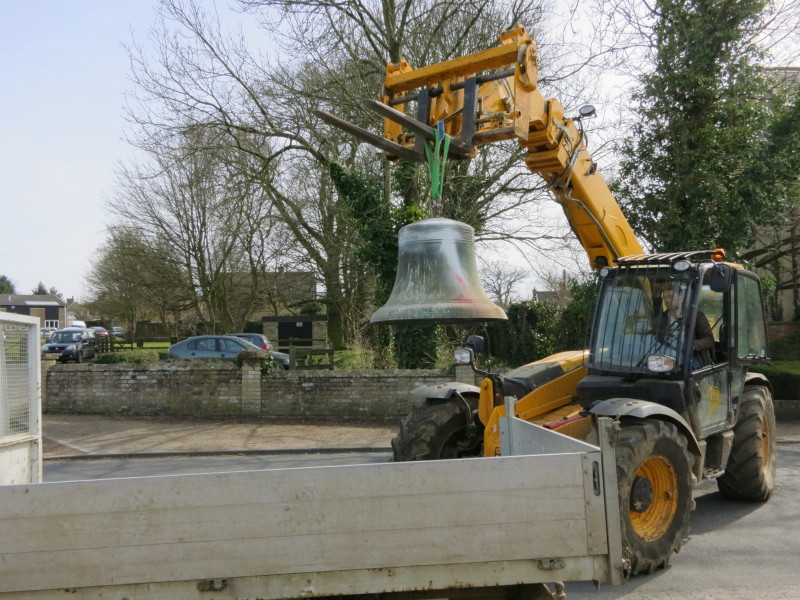
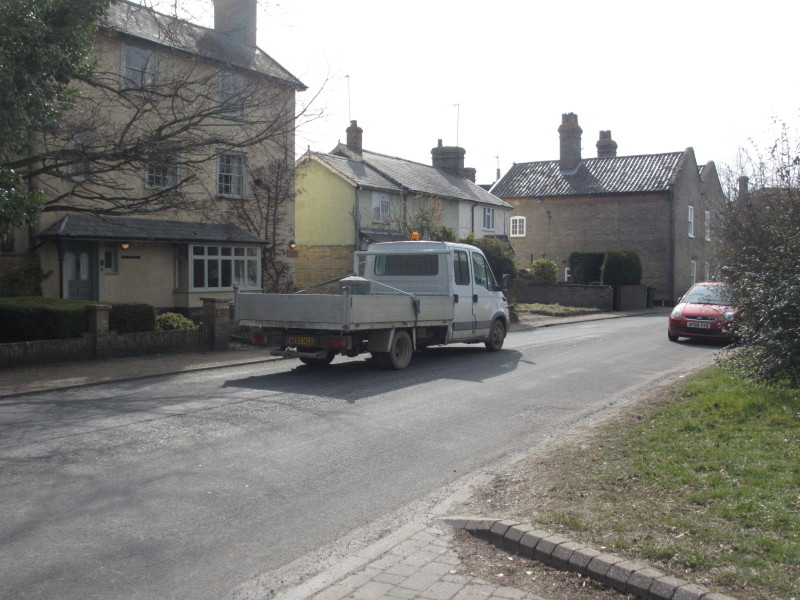
The bell is off to Newmarket for a few weeks
|