Angletarn Pikes and Brock Crags
12 February 2010
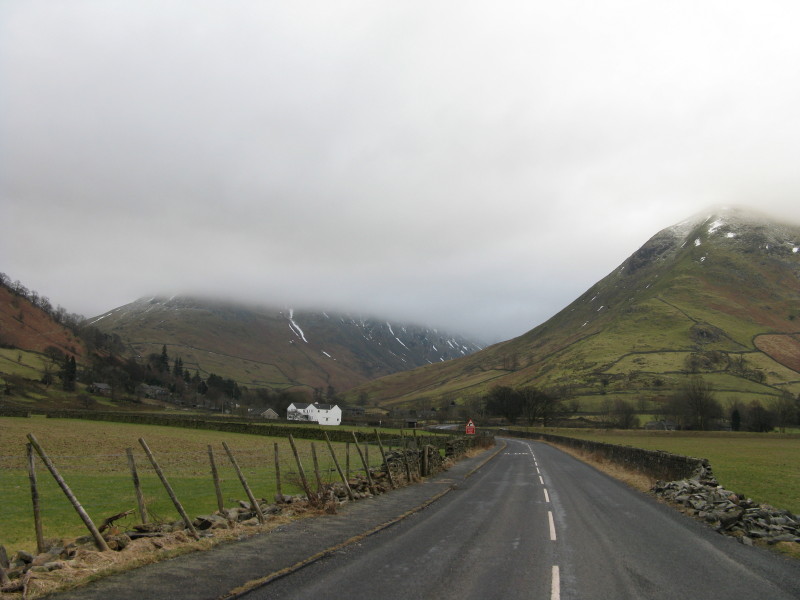
As we cross the road from the Cow Bridge car park at the foot of
Brothers Water, the cloud cloaking the top of Hartsop Dodd shows that
the weather isn't quite as good as the forecast had promised -
cloud-free tops there are not.
Lingy Crag is free of cloud, but we are going higher than that.
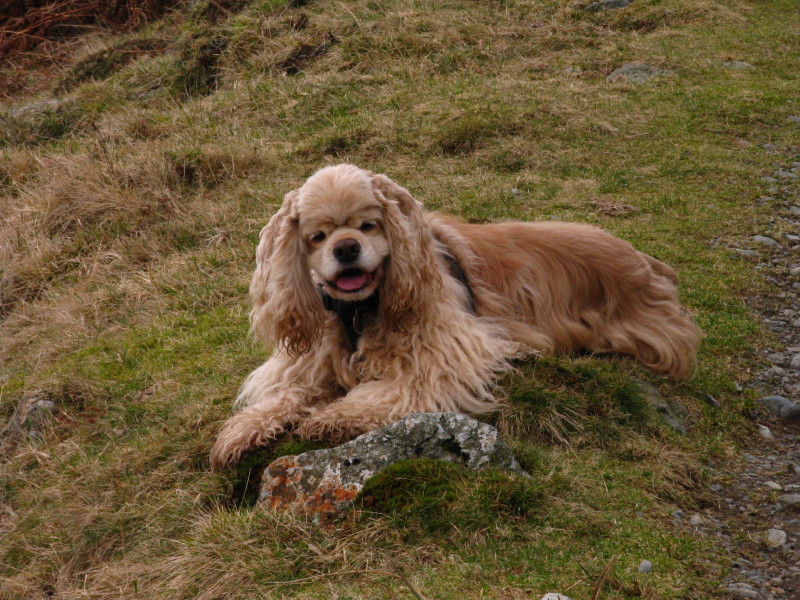
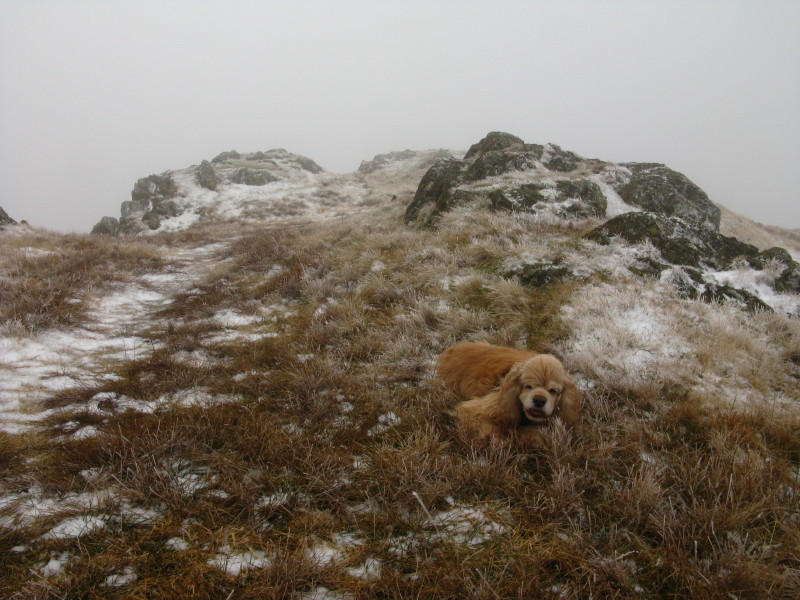
A cheerful George as we start to gain height
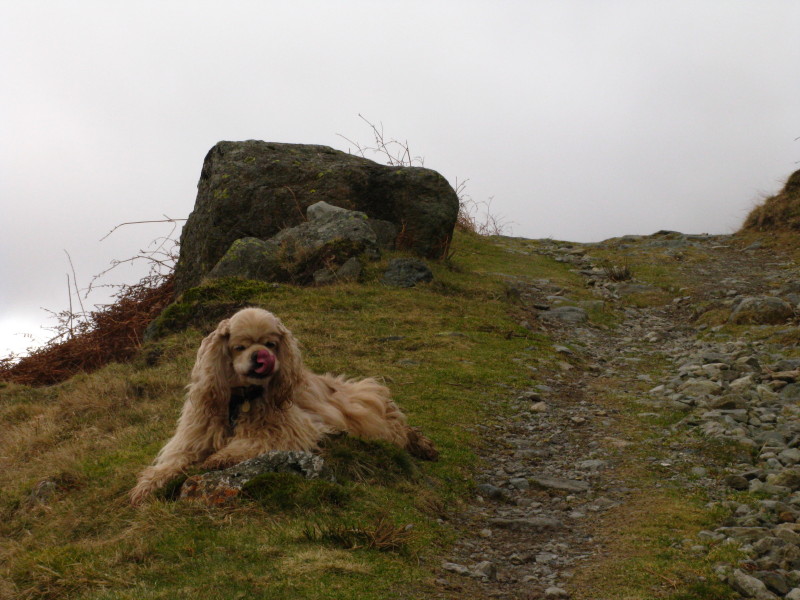
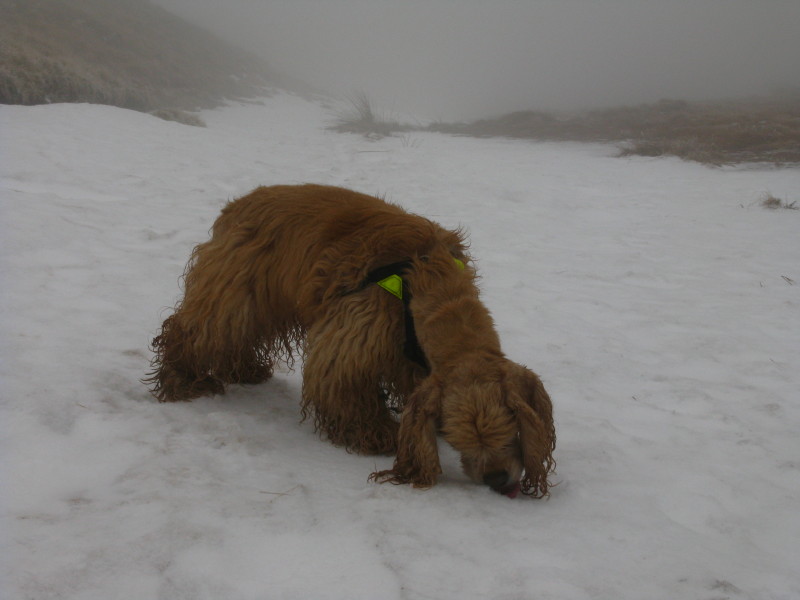
Hurry up!
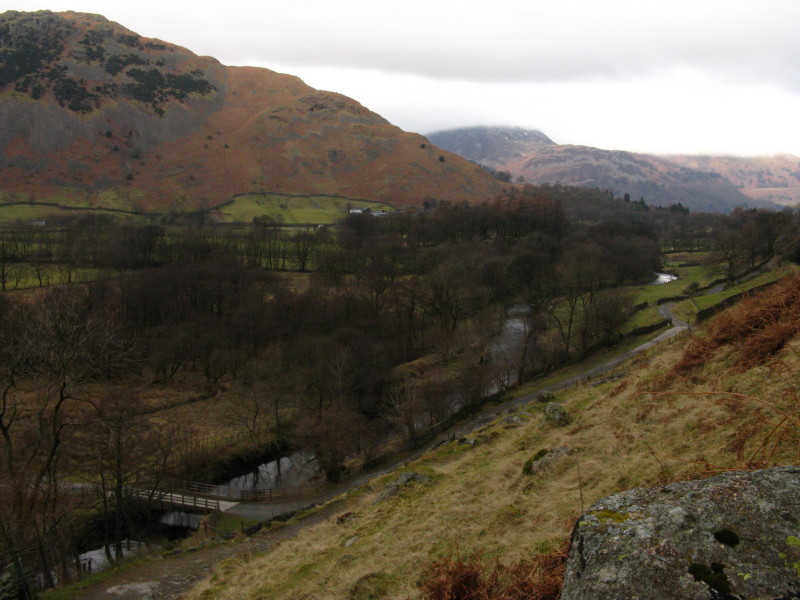
Looking down on Goldrill Beck
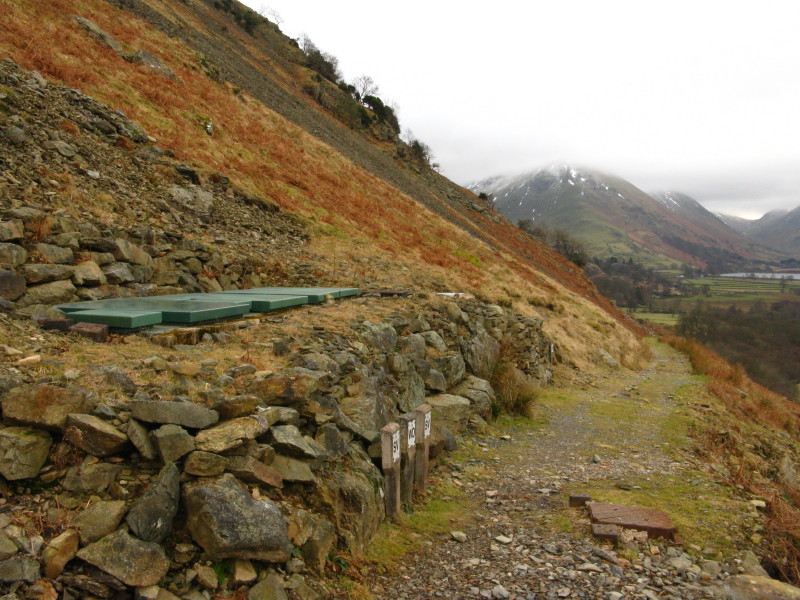
I think all this hardware is a sign that we are crossing the line of the
Hayeswater Aqueduct, which we will find again later.
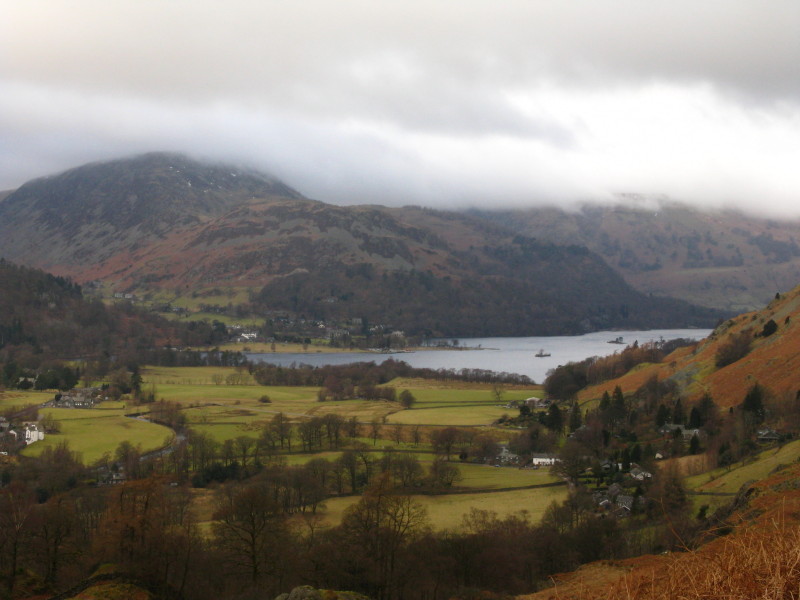
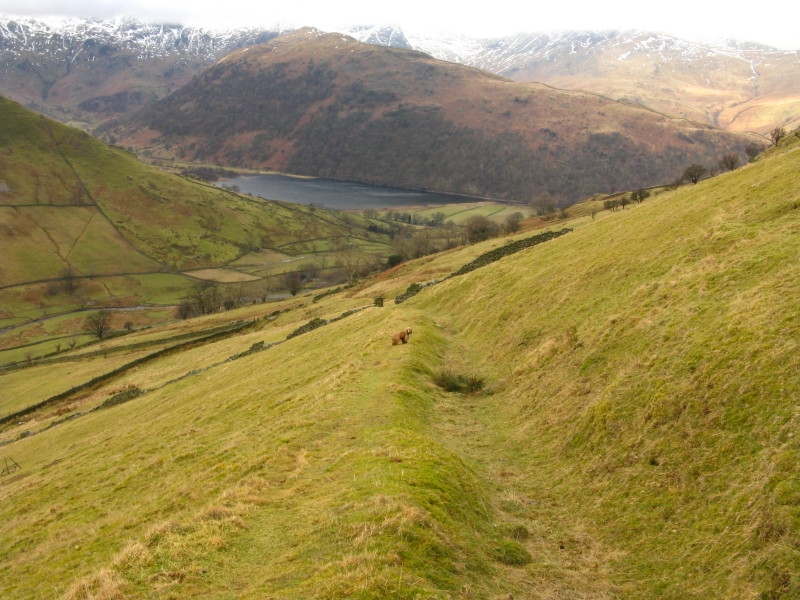
The head of Ullswater
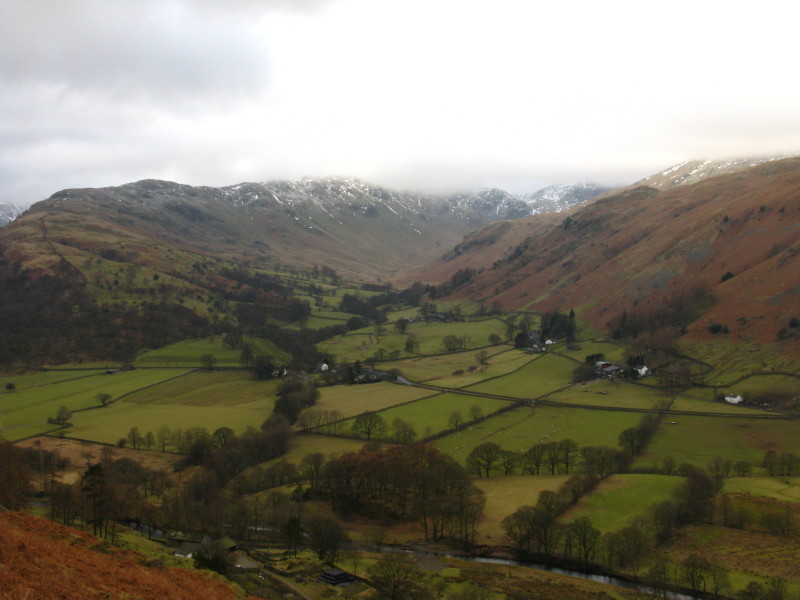
Looking up Deepdale
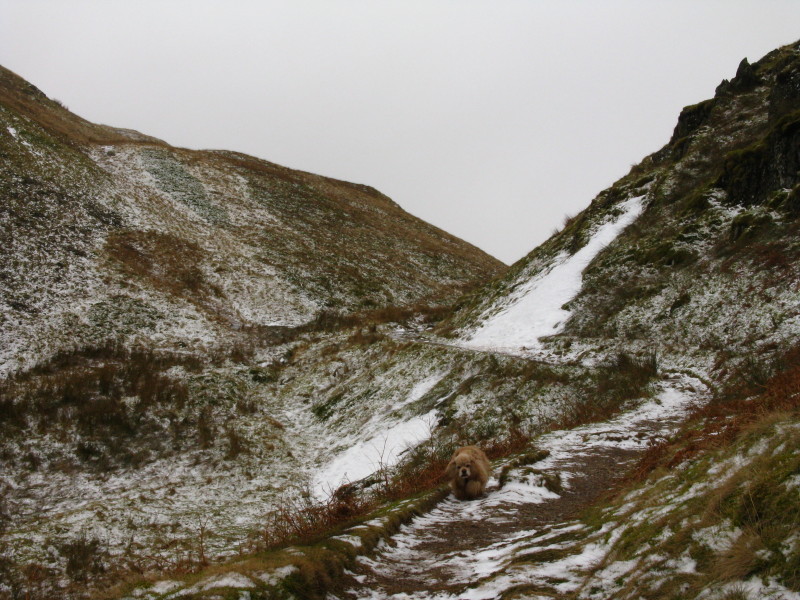
Starting to get more wintry as we ascend from Boardale Hause. George is
- as always - doing at least twice as much distance as me.
On the summit of Angletarn Pikes
Not only are we in the cloud, but it is starting to snow
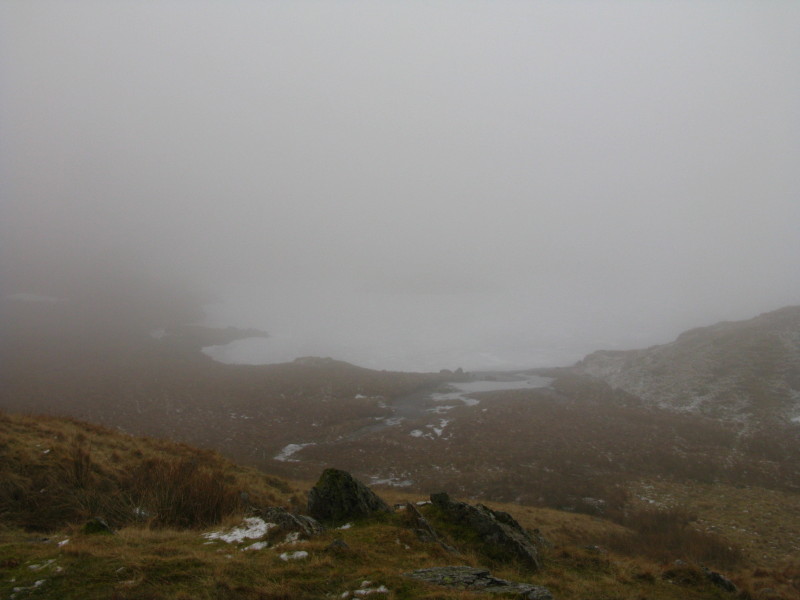
The northern end of Angle Tarn. A shame about the visibility as I think
this looks a lovely location in photographs - I must come back one day
when the sun is shining.
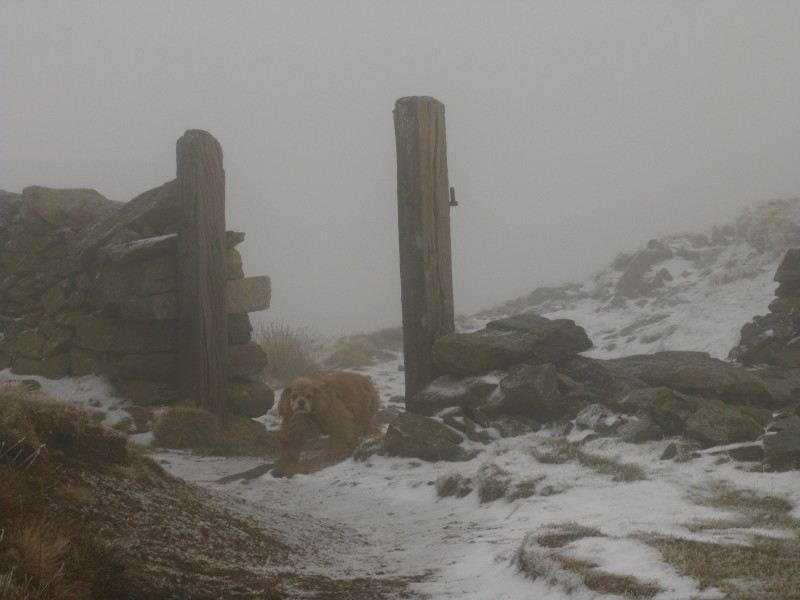
No, we're not going that way, George. Although I had originally thought
of going on to Rest Dodd and The Knott, in view of the weather I decided
that a quick visit to Brock Crags and then descent would be enough for
today.
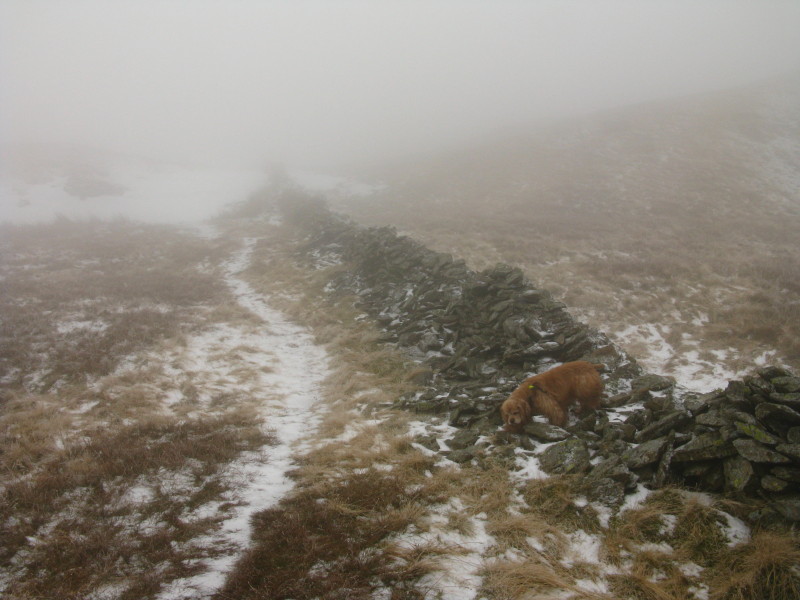
Following the wall onto Brock Crags
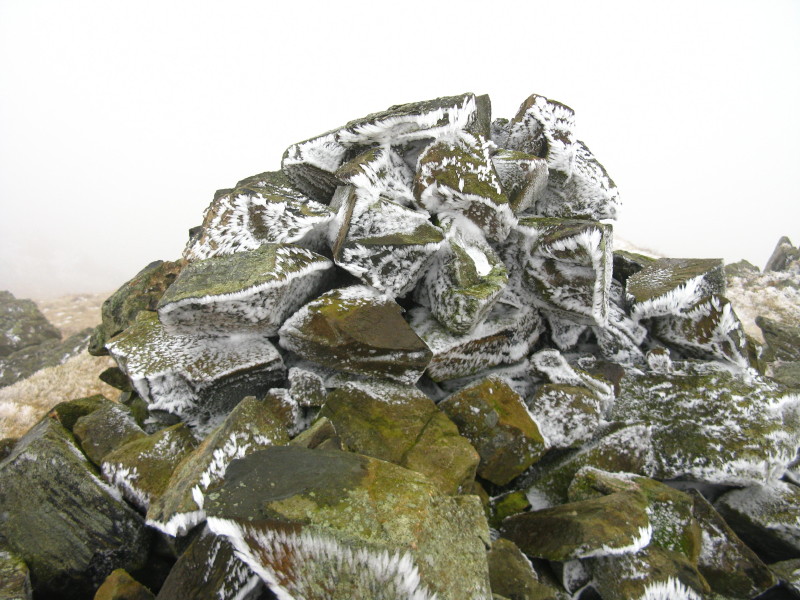
The cairn on the top of Brock Crags
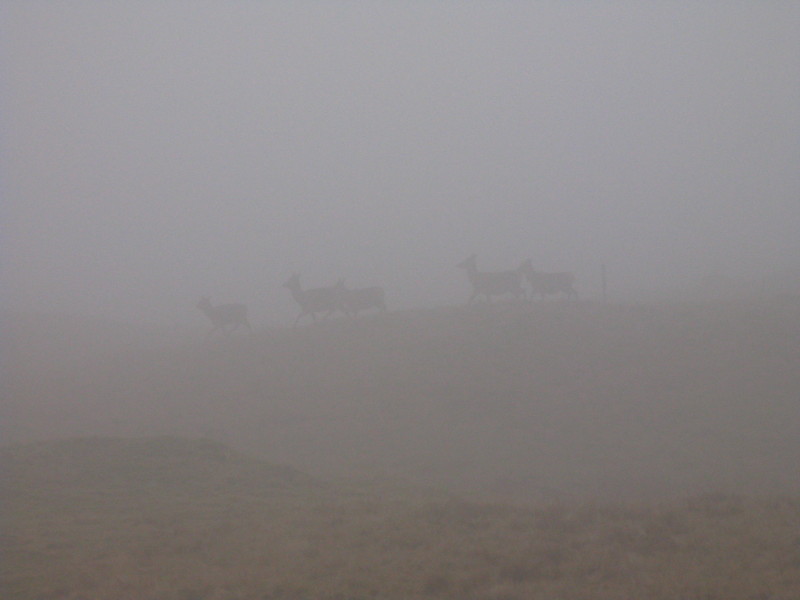
Deer as we descend Brock Crags
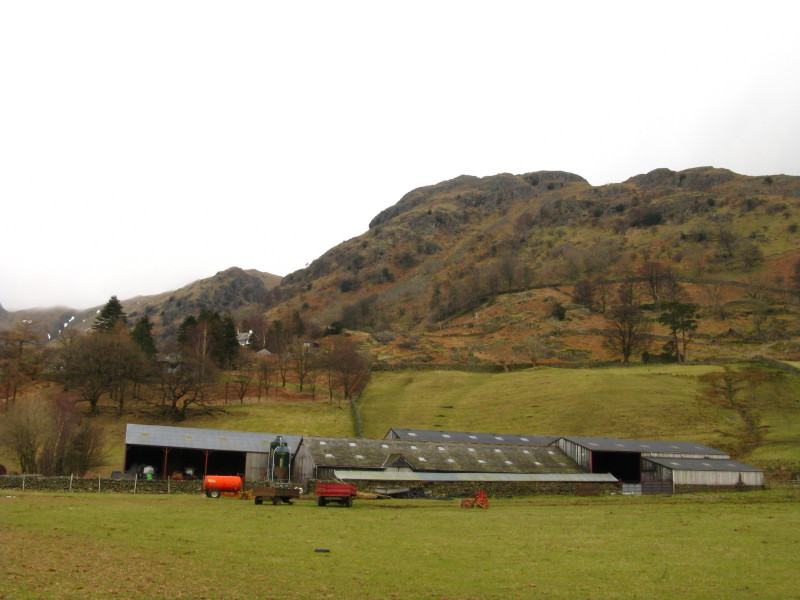
Hayeswater
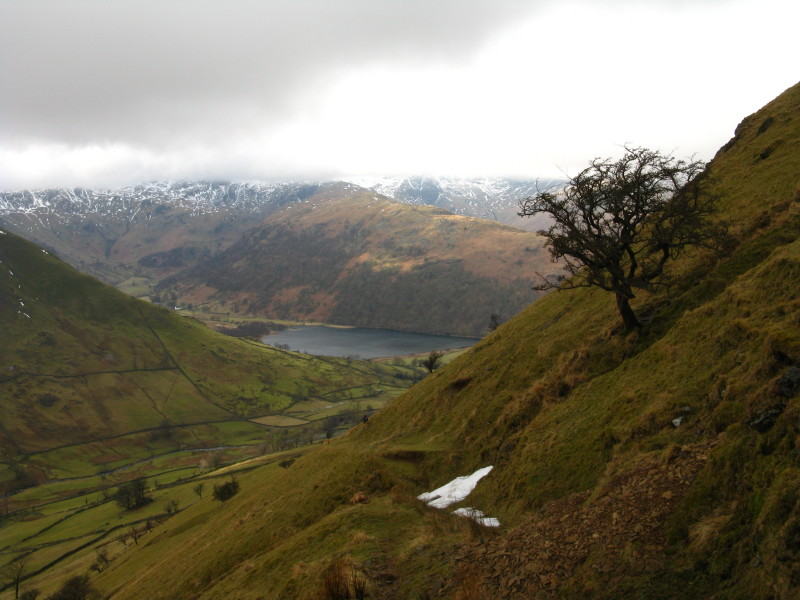
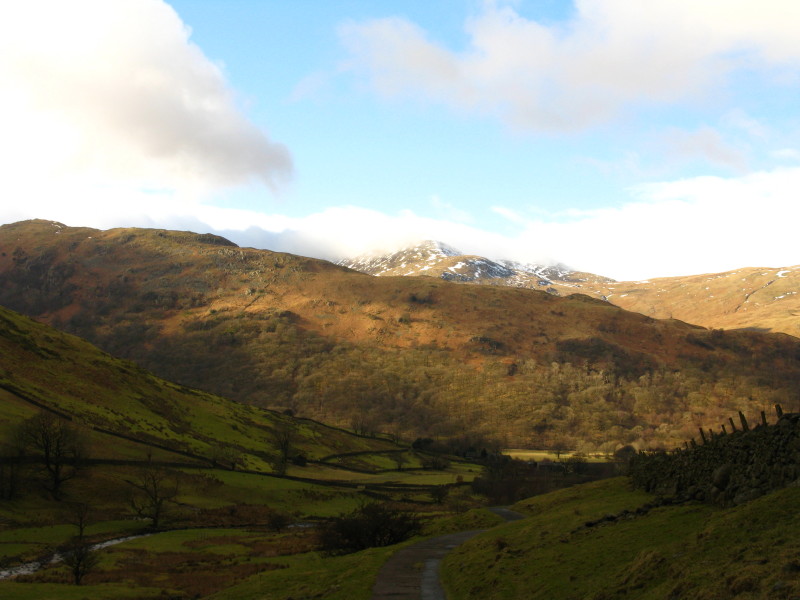
Brothers Water as the cloud hints at lifting.
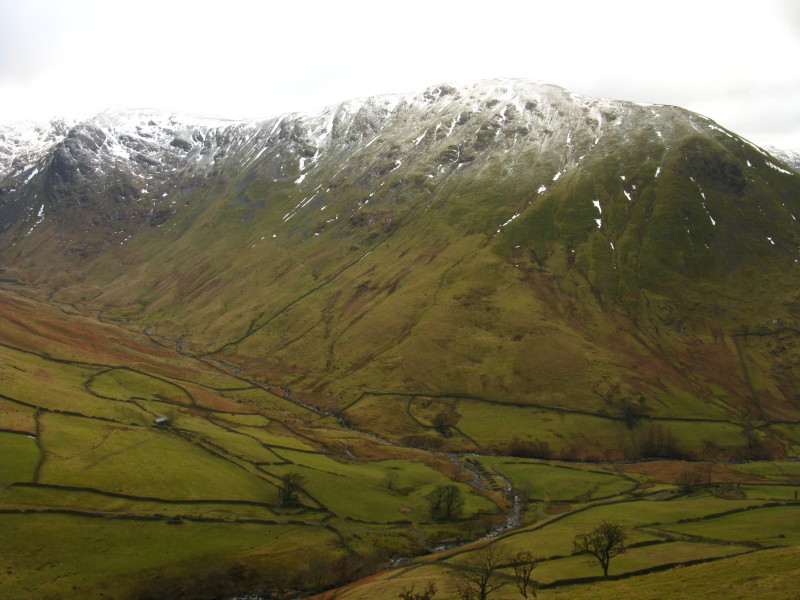
Hartsop Dodd just about out of the cloud. (This was the fell at the top
of this page, albeit from a different angle.)
The grooved path descending to Hartsop
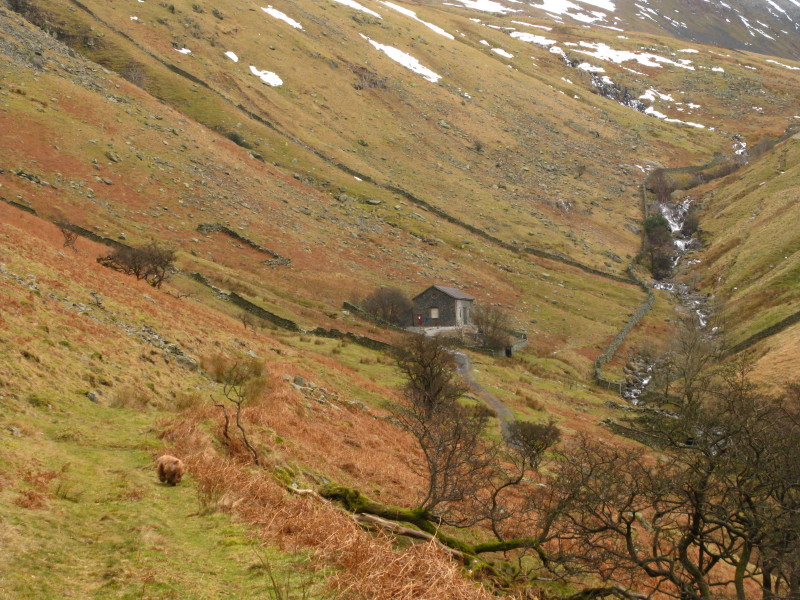
George runs along the course of the Hayeswater Aqueduct towards the
filter house.
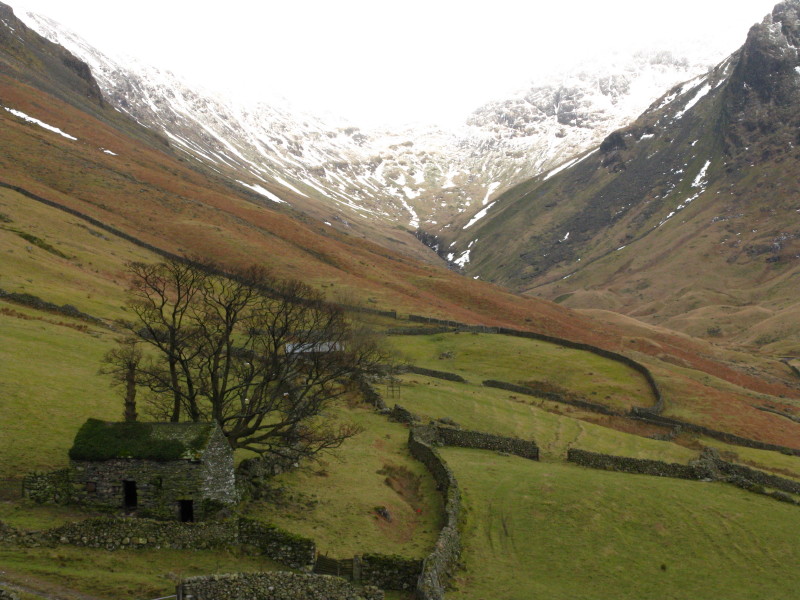
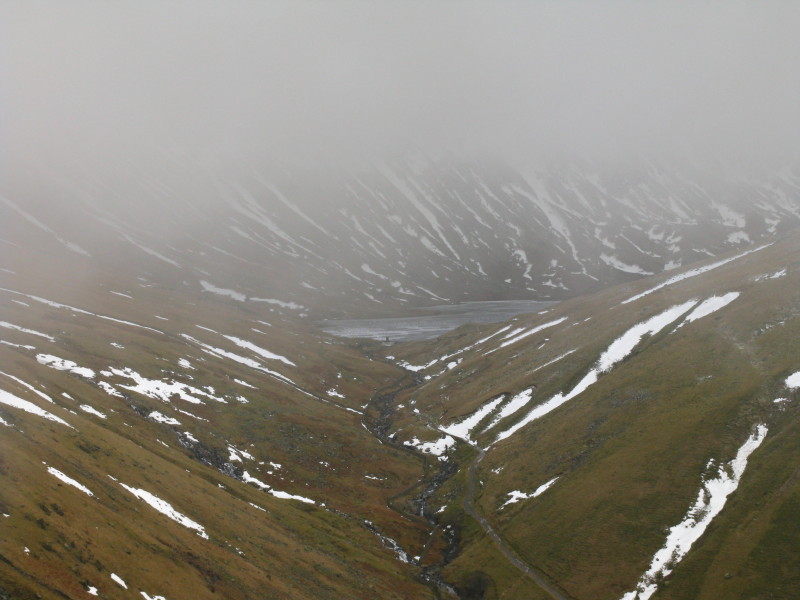
Looking up Pasture Bottom to Thresthwaite Cove
Sunshine and blue sky - sadly only as we near the valley bottom
Zoom in for more detail, or click to view larger map in new window
Not the walk I had anticipated - definitely one to have done three hours later
in the day, but still some good views on the slopes.
Total distance 10.6 km and 625 metres of ascent in 3 hours 43 mins
Lake District holiday, February 2010
|
|